嘉兴免费做网站搜狗网址导航
原文链接
CSDN 的排版/样式可能有问题,去我的博客查看原文系列吧,觉得有用的话,给我的库点个star,关注一下吧
上一篇【Next.js 项目实战系列】01-创建项目
创建 Issue
配置 MySQL 与 Prisma
在数据库中可以找到相关内容,这里不再赘述
添加 model
本节代码链接
# schema.prismamodel Issue {id Int @id @default(autoincrement())title String @db.VarChar(255)description String @db.Textstatus Status @default(OPEN)createdAt DateTime @default(now())updatedAt DateTime @updatedAt()
}enum Status {OPENIN_PROGRESSCLOSED
}
使用以下指令同步到数据库
npx prisma format
npx prisma migrate dev
编写 API
本节代码链接
这里使用 zod 来验证表单,具体内容可参考使用 zod 验证表单
# /app/api/issues/route.tsimport { NextRequest, NextResponse } from "next/server";
import { z } from "zod";
import prisma from "@/prisma/client";const createIssueSchema = z.object({title: z.string().min(1).max(255),description: z.string().min(1),
});export async function POST(request: NextRequest) {const body = await request.json();const validation = createIssueSchema.safeParse(body);if (!validation.success)return NextResponse.json(validation.error.errors, { status: 400 });const newIssue = await prisma.issue.create({data: { title: body.title, description: body.description },});return NextResponse.json(newIssue, { status: 201 });
}
Radix-UI
本节代码链接
radix-ui 也是一个类 DaisyUI 的组件库,使用如下指令安装
npm install @radix-ui/themes
安装好后,进行如下初始配置,将主 layout 中的所有内容用 <Theme > 标签包起来
# /app/layout.tsximport type { Metadata } from "next";
+ import "@radix-ui/themes/styles.css";import { Inter } from "next/font/google";
+ import { Theme } from "@radix-ui/themes";import "./globals.css";import NavBar from "./NavBar";const inter = Inter({ subsets: ["latin"] });export const metadata: Metadata = {title: "Create Next App",description: "Generated by create next app",};export default function RootLayout({children,}: Readonly<{children: React.ReactNode;}>) {return (<html lang="en"><body className={inter.className}>
+         <Theme><NavBar /><main>{children}</main>
+         </Theme></body></html>);}
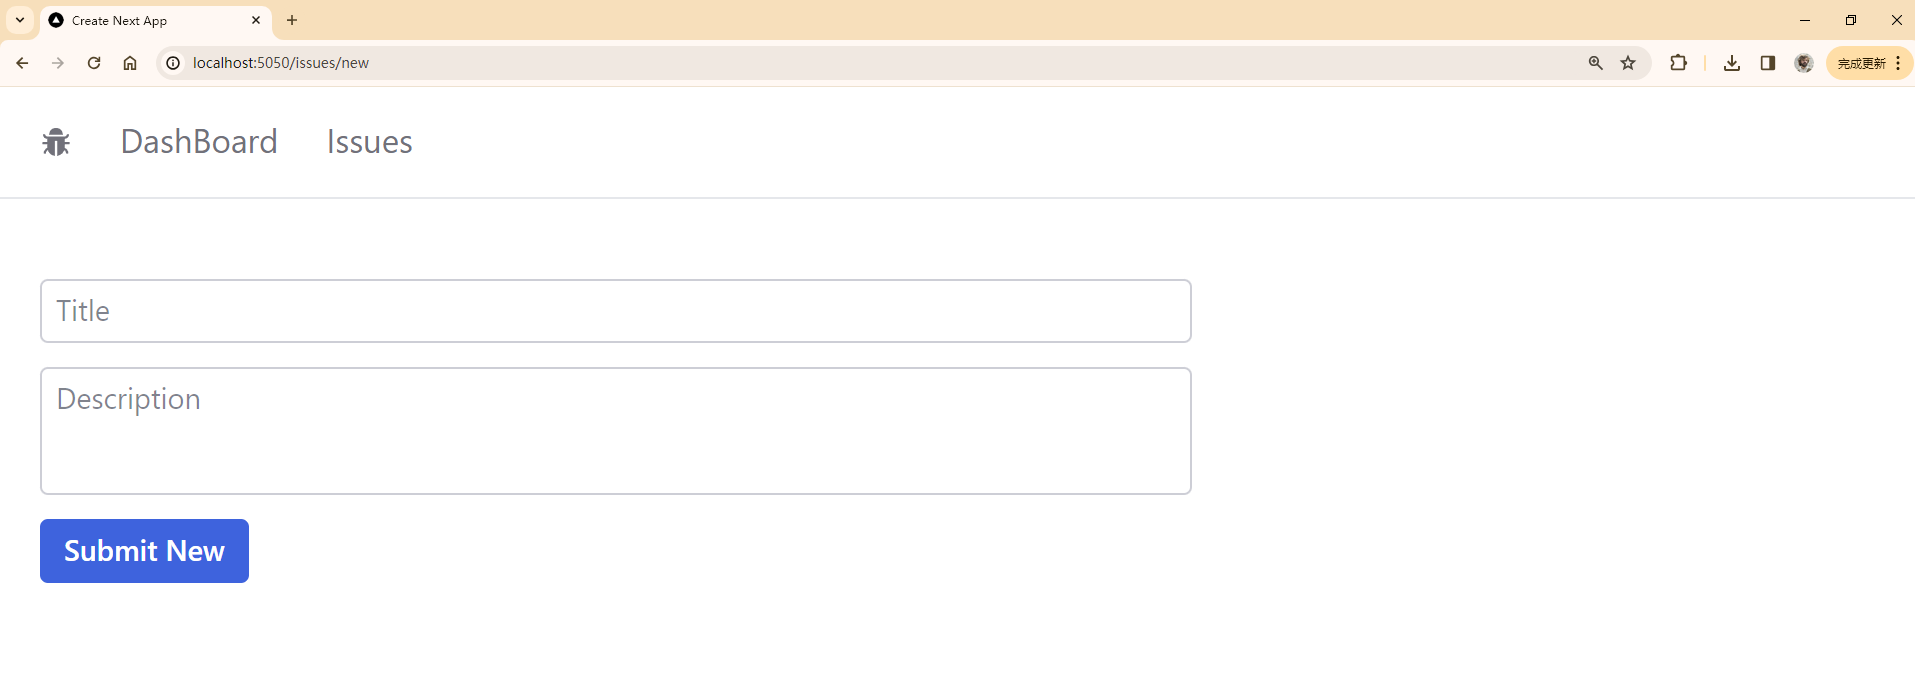
创建新 Issue 页面
本节代码链接
# /app/issues/new/page.tsx"use client";
import { Button, TextArea, TextField } from "@radix-ui/themes";const NewIssuePage = () => {return (<div className="max-w-xl space-y-3"><TextField.Root><TextField.Input placeholder="Title" /></TextField.Root><TextArea placeholder="Description" /><Button>Submit New</Button></div>);
};
export default NewIssuePage;
显示效果如下
Radix-UI 定义 UI 样式
本节代码链接
在 layout.tsx 中添加 <Themepanel >
# /app/layout.tsx+ import { Theme, ThemePanel } from "@radix-ui/themes";...return (<html lang="en"><body className={inter.className}><Theme><NavBar /><main className="p-5">{children}</main>
+           <ThemePanel /></Theme></body></html>);...
效果如下
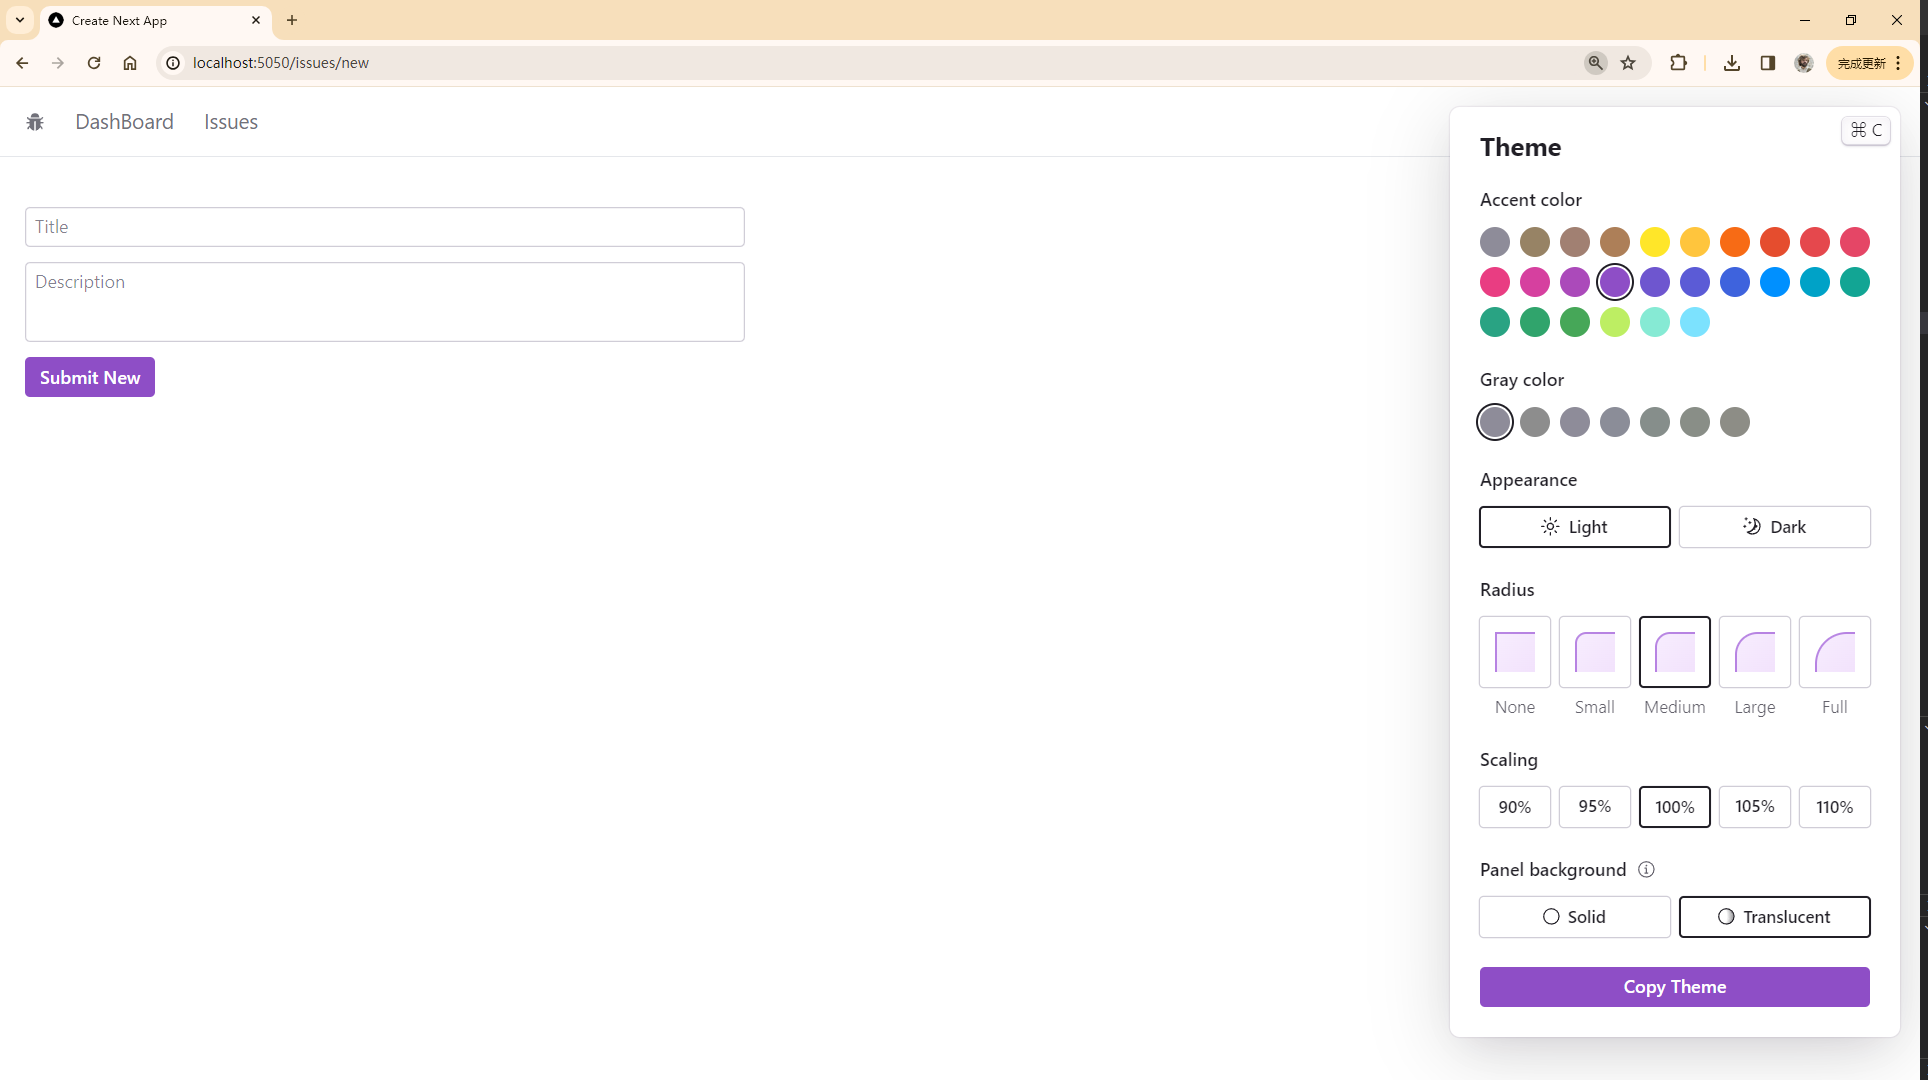
调整好自己想要的样式之后点击 Copy Theme,将 copy 到的 <Theme > 标签替换掉原来的即可
# /app/layout.tsx...return (<html lang="en"><body className={inter.className}>{/*添加到这里即可*/}<Theme appearance="light" accentColor="violet"><NavBar /><main className="p-5">{children}</main></Theme></body></html>);...
设置字体
在 Radix-UI 中设置字体需要以下步骤,可以参考 radix-ui-font
首先在 layout.tsx 中修改
# /app/layout.tsximport { Theme } from "@radix-ui/themes";import "@radix-ui/themes/styles.css";import type { Metadata } from "next";import { Inter } from "next/font/google";import NavBar from "./NavBar";import "./globals.css";
- const inter = Inter({ subsets: ["latin"] });
+ const inter = Inter({
+   subsets: ['latin'],
+   variable: '--font-inter',
+ });export const metadata: Metadata = {title: "Create Next App",description: "Generated by create next app",};export default function RootLayout({children,}: Readonly<{children: React.ReactNode;}>) {return (<html lang="en">
-       <body className={inter.className}>
+       <body className={inter.variable}><Theme appearance="light" accentColor="violet"><NavBar /><main className="p-5">{children}</main></Theme></body></html>);}
然后添加 /app/theme-config.css 并添加以下内容
/app/theme-config.css
.radix-themes {--default-font-family: var(--font-inter);
}
最后在 layout.tsx 中 import 进来即可
···
import "./theme-config.css";
···
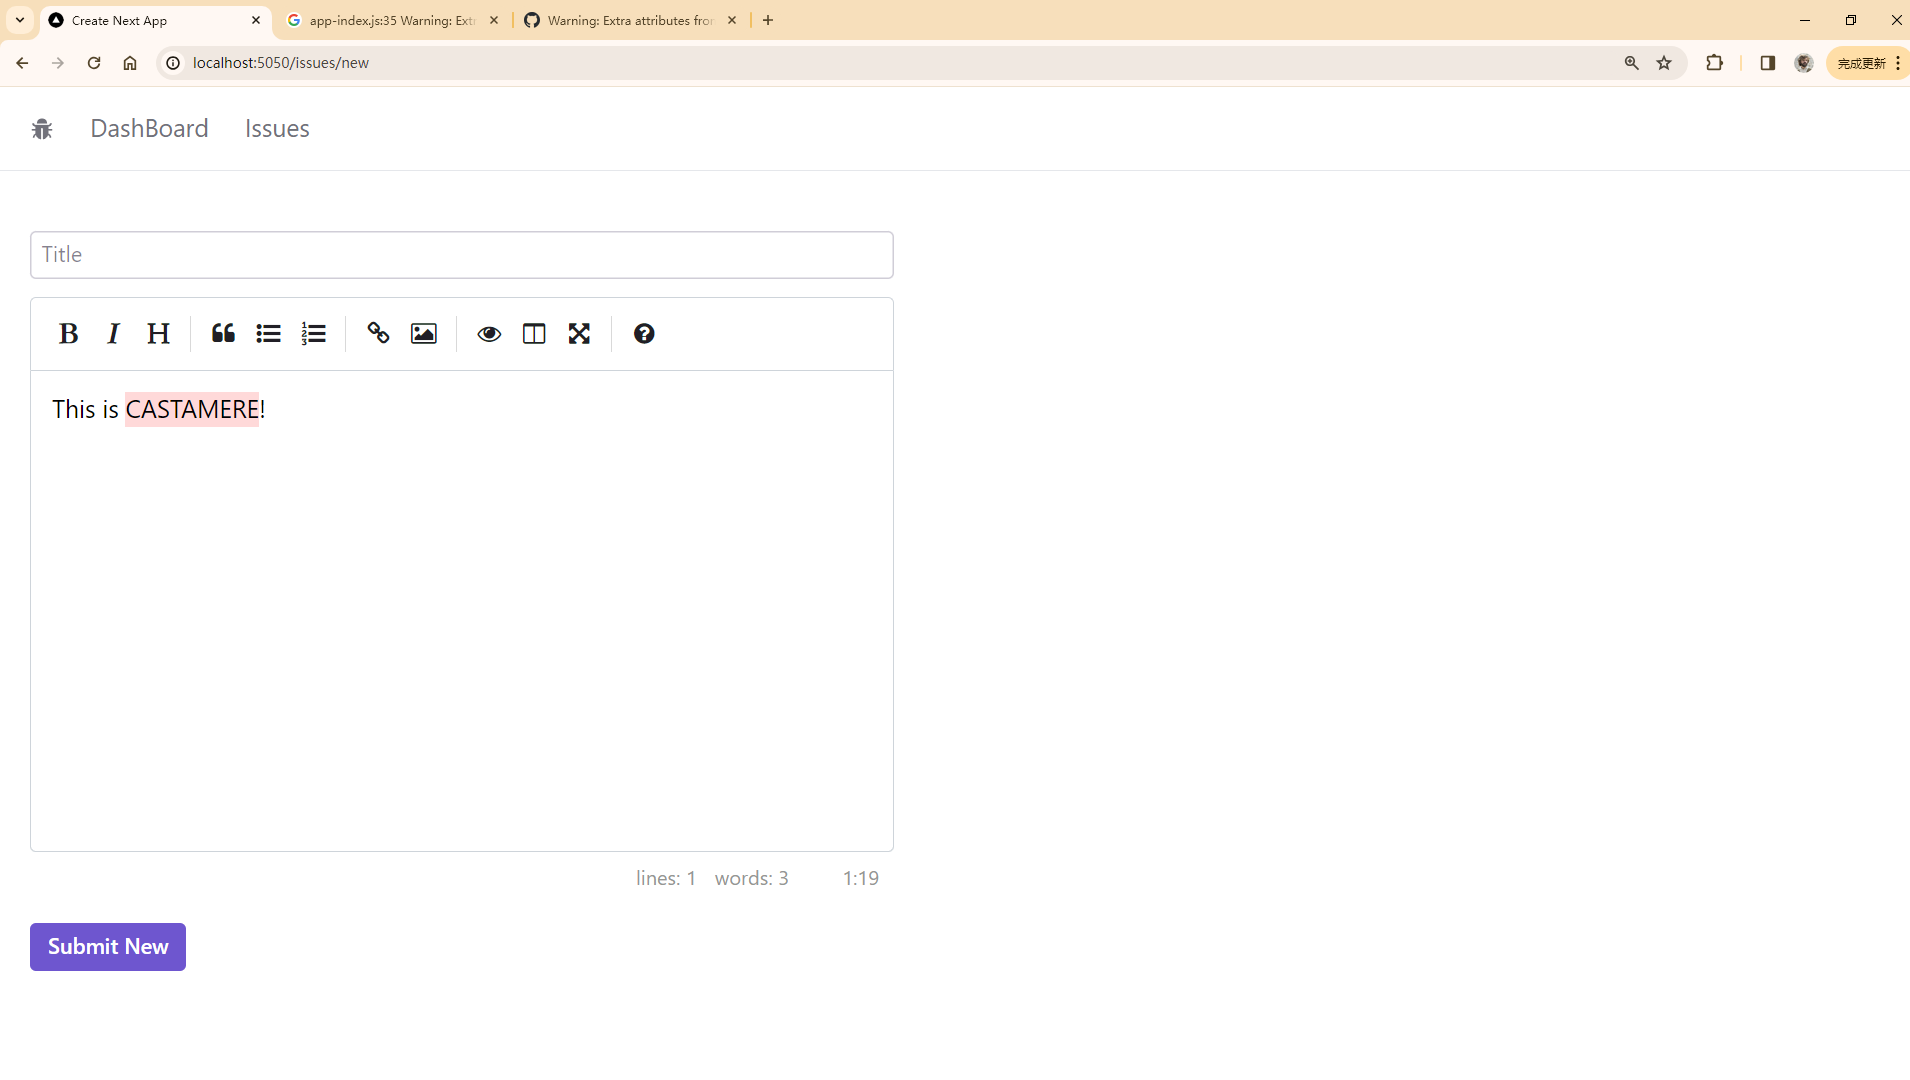
MarkDown Editor
本节代码链接
react-simlemde-editor 是一款集成式 MarkDown 编辑器,使用如下命令安装
npm install --save react-simplemde-editor easymde
效果如下:
提交表单
本节代码链接
我们使用 react-hook-form 和 axios 进行表单提交
npm i react-hook-form
npm i axios
# /app/issues/new/page.tsx"use client";import { Button, TextField } from "@radix-ui/themes";import { useRouter } from "next/navigation";// import
+ import axios from "axios";
+ import "easymde/dist/easymde.min.css";
+ import { Controller, useForm } from "react-hook-form";
+ import SimpleMDE from "react-simplemde-editor";// 使用 interface 表明 form 中有哪些内容
+ interface IssueForm {
+   title: string;
+   description: string;
+ }const NewIssuePage = () => {// 使用 React Hook Form
+   const { register, control, handleSubmit } = useForm<IssueForm>();// 使用 router 进行页面跳转
+   const router = useRouter();return ({/* 将最外层 div 换为 form */}
+     <form className="max-w-xl space-y-3"
+       onSubmit={handleSubmit(async (data) => {{/* 使用 axios 进行 post */}
+         await axios.post("/api/issues", data);
+         router.push("/issues");
+       })}><TextField.Root>{/* 将该组件注册为 form 中的 title 字段 */}
+         <TextField.Input placeholder="Title" {...register("title")} /></TextField.Root>{/* 由于 simpleMDE 不能直接像上面的 Input 一样传入参数,我们这里使用 React Hook Form 中的 Controller */}
-       <SimpleMDE placeholder="Description" />
+       <Controller
+         name="description"
+         control={control}
+         render={({ field }) => (
+           <SimpleMDE placeholder="Description" {...field} />
+         )}
+       /><Button>Submit New</Button>
+     </form>);};export default NewIssuePage;
完整代码(非 git diff 版)
# /app/issues/new/page.tsx"use client";
import { Button, TextField } from "@radix-ui/themes";
import axios from "axios";
import "easymde/dist/easymde.min.css";
import { useRouter } from "next/navigation";
import { Controller, useForm } from "react-hook-form";
import SimpleMDE from "react-simplemde-editor";interface IssueForm {title: string;description: string;
}const NewIssuePage = () => {const { register, control, handleSubmit } = useForm<IssueForm>();const router = useRouter();return (<formclassName="max-w-xl space-y-3"onSubmit={handleSubmit(async (data) => {await axios.post("/api/issues", data);router.push("/issues");})}><TextField.Root><TextField.Input placeholder="Title" {...register("title")} /></TextField.Root><Controllername="description"control={control}render={({ field }) => (<SimpleMDE placeholder="Description" {...field} />)}/><Button>Submit New</Button></form>);
};
export default NewIssuePage;
效果如下:

Handle Error
本节代码链接
表单验证
之前说到,我们使用 zod 进行表单验证,可以在使用 zod 时,自定义报错内容
# /app/api/issues/new/route.tsx...const createIssueSchema = z.object({// 在定义时,可以加第二个参数,表示如果未满足该项时的报错
+   title: z.string().min(1, "Title is required!").max(255),
+   description: z.string().min(1, "Description is required!"),});export async function POST(request: NextRequest) {...if (!validation.success)// 改为调用 validation.error.format()
-     return NextResponse.json(validation.error.errors, { status: 400 });
+     return NextResponse.json(validation.error.format(), { status: 400 });...}
报错显示
接下来实现一个这样的 Error Callout
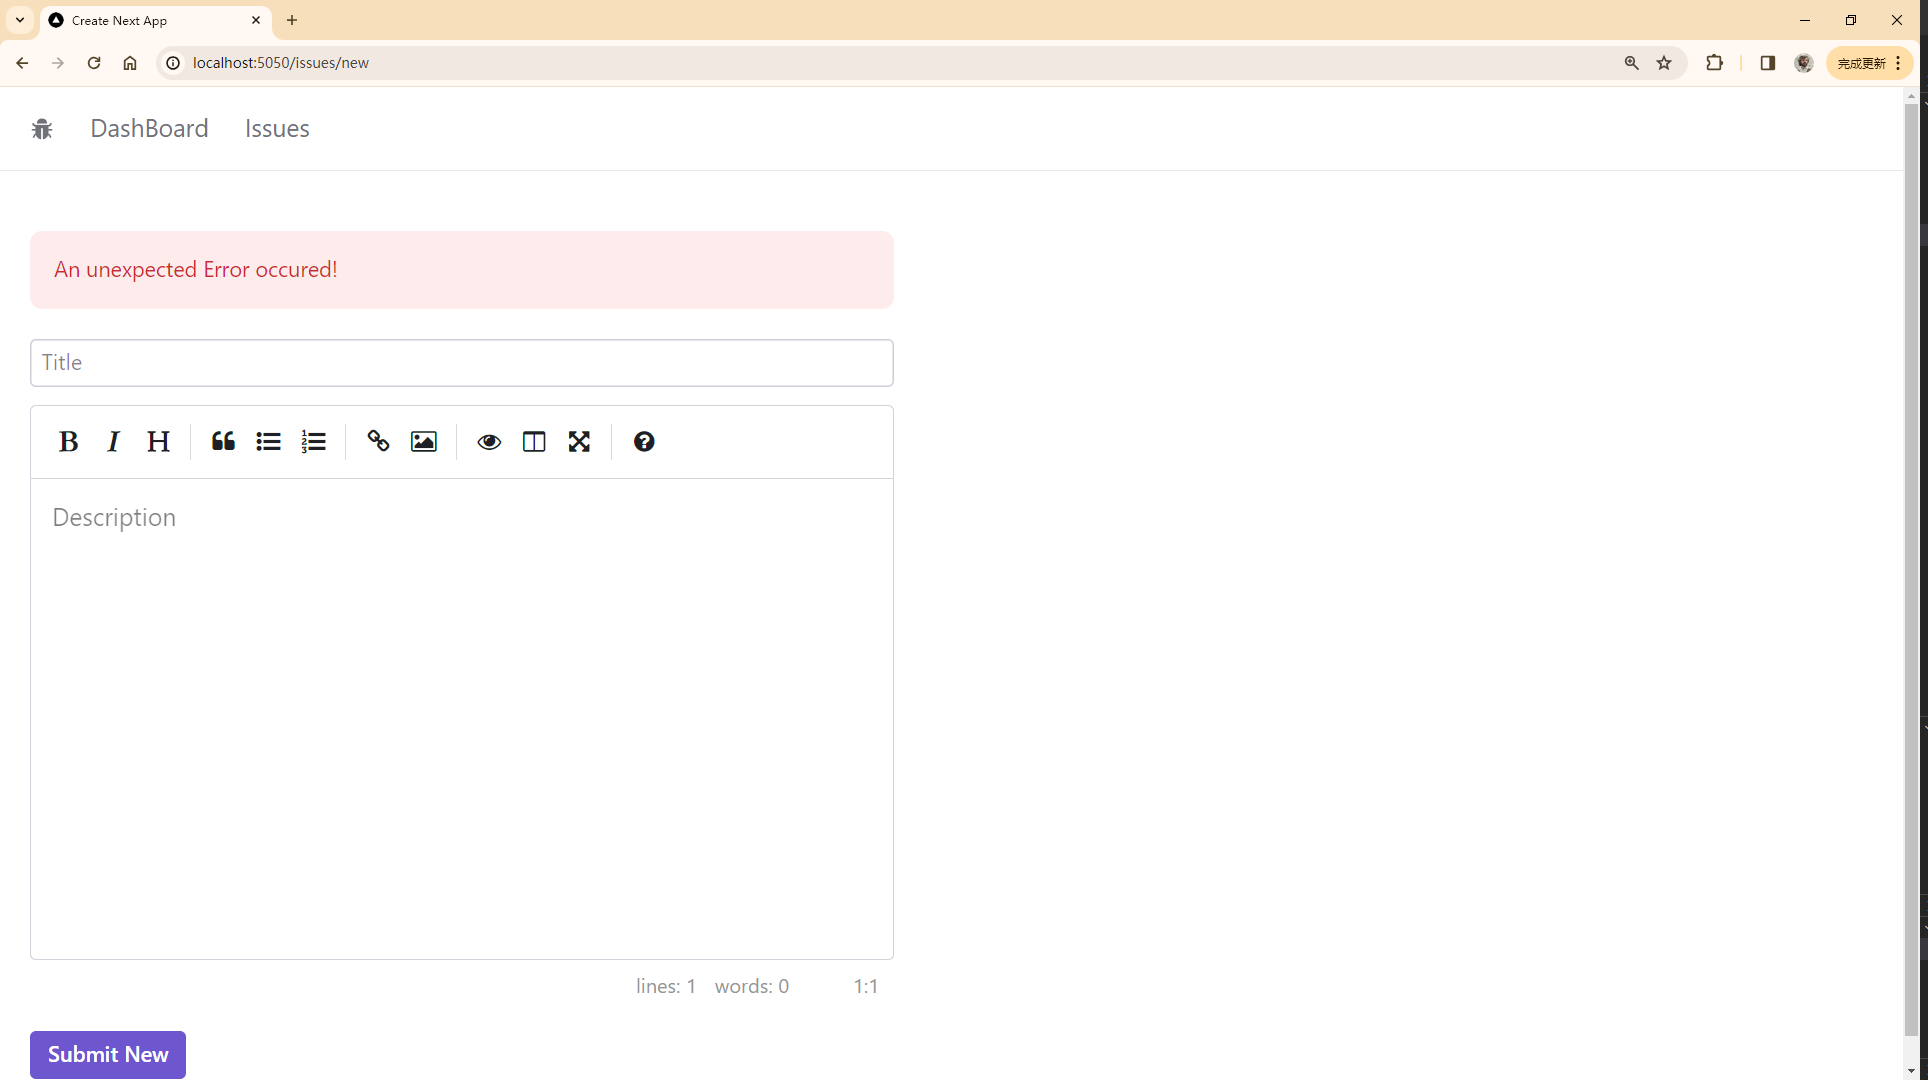
在 /app/issues/new/page.tsx 中修改。把 axios 的相关内容放到一个 try-catch block 里
# /app/issues/new/page.tsx"use client";...const NewIssuePage = () => {...// 添加 useState 变量
+   const [error, setError] = useState("");return (...{/*若报错则显示一个 CallOut*/}
+       {error && (
+         <Callout.Root color="red" className="mb-5">
+           <Callout.Text>{error}</Callout.Text>
+         </Callout.Root>
+       )}<formclassName="space-y-3"onSubmit={handleSubmit(async (data) => {// 报错时设置 error
+           try {
+             await axios.post("/api/issues", data);
+             router.push("/issues");
+           } catch (error) {
+             setError("An unexpected Error occured!");
+           }})}>...};export default NewIssuePage;
用户端验证
本节代码链接
Zod schema
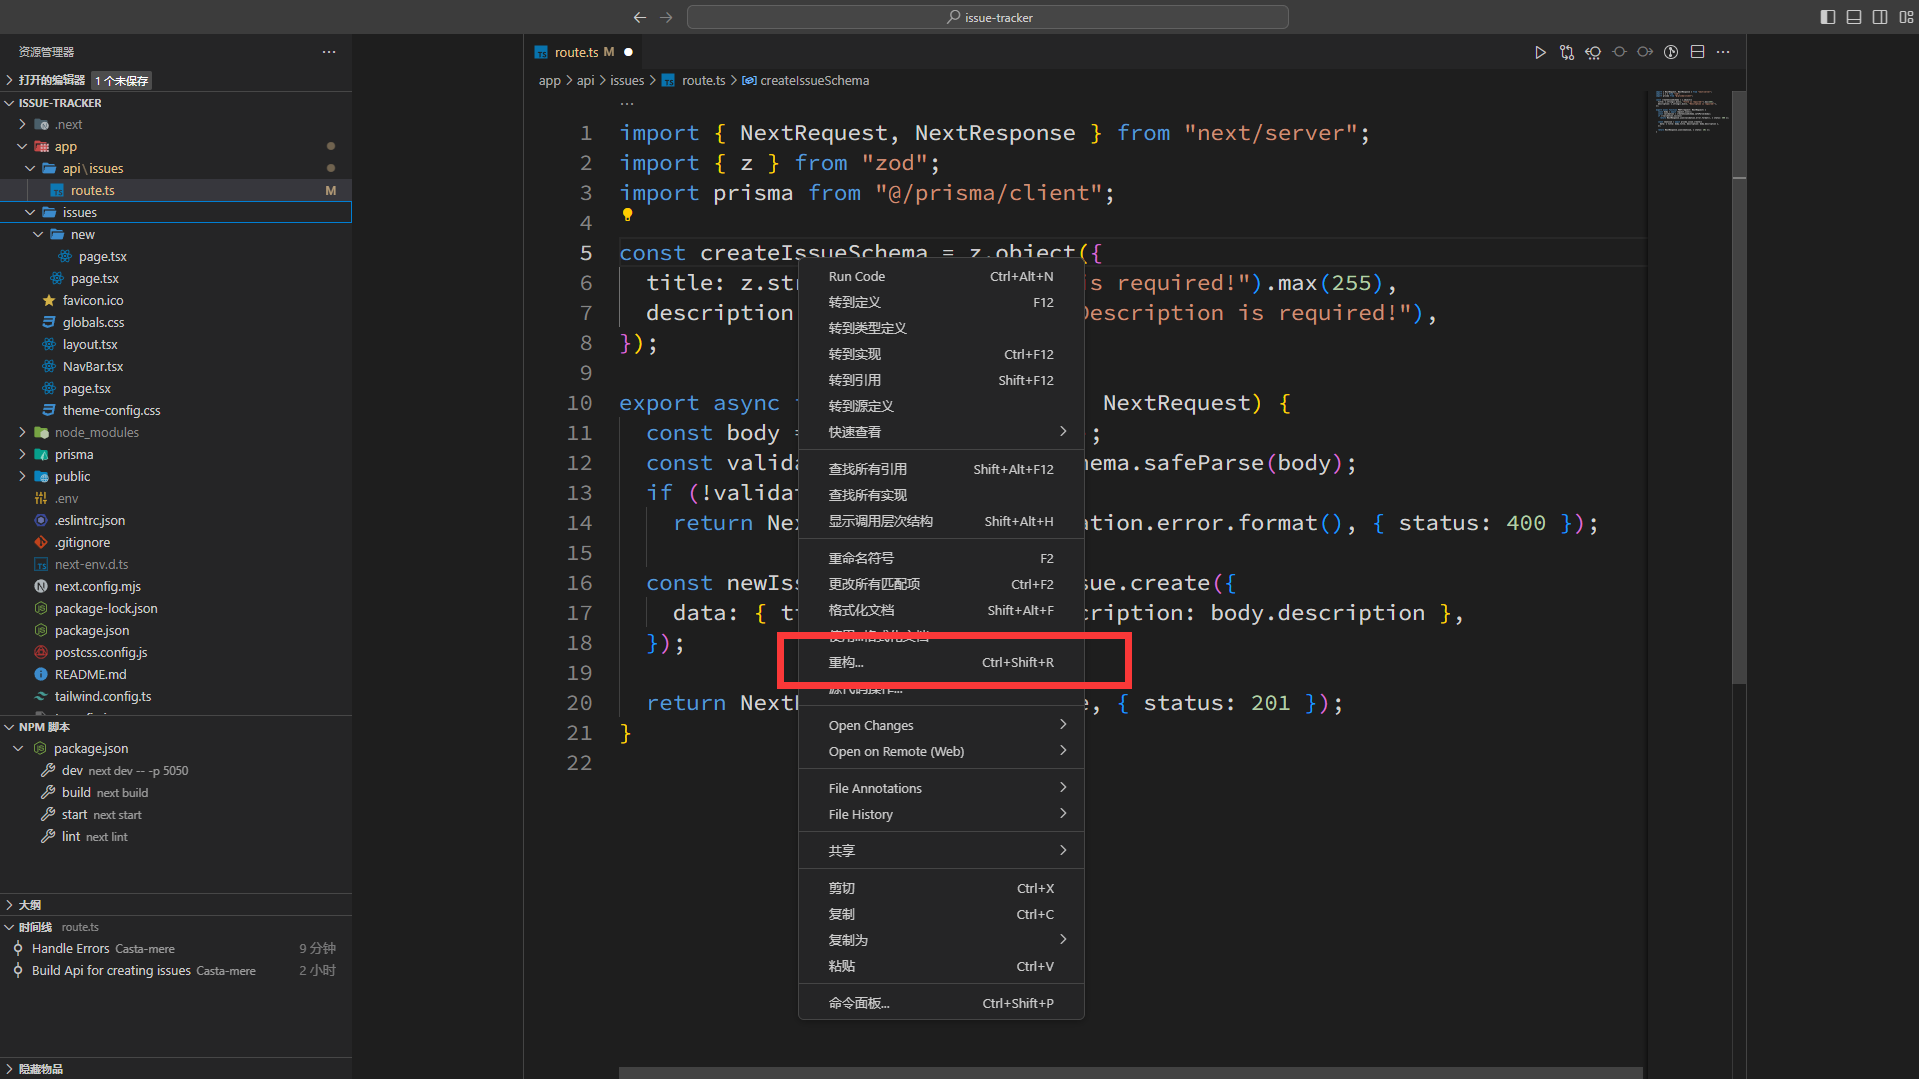
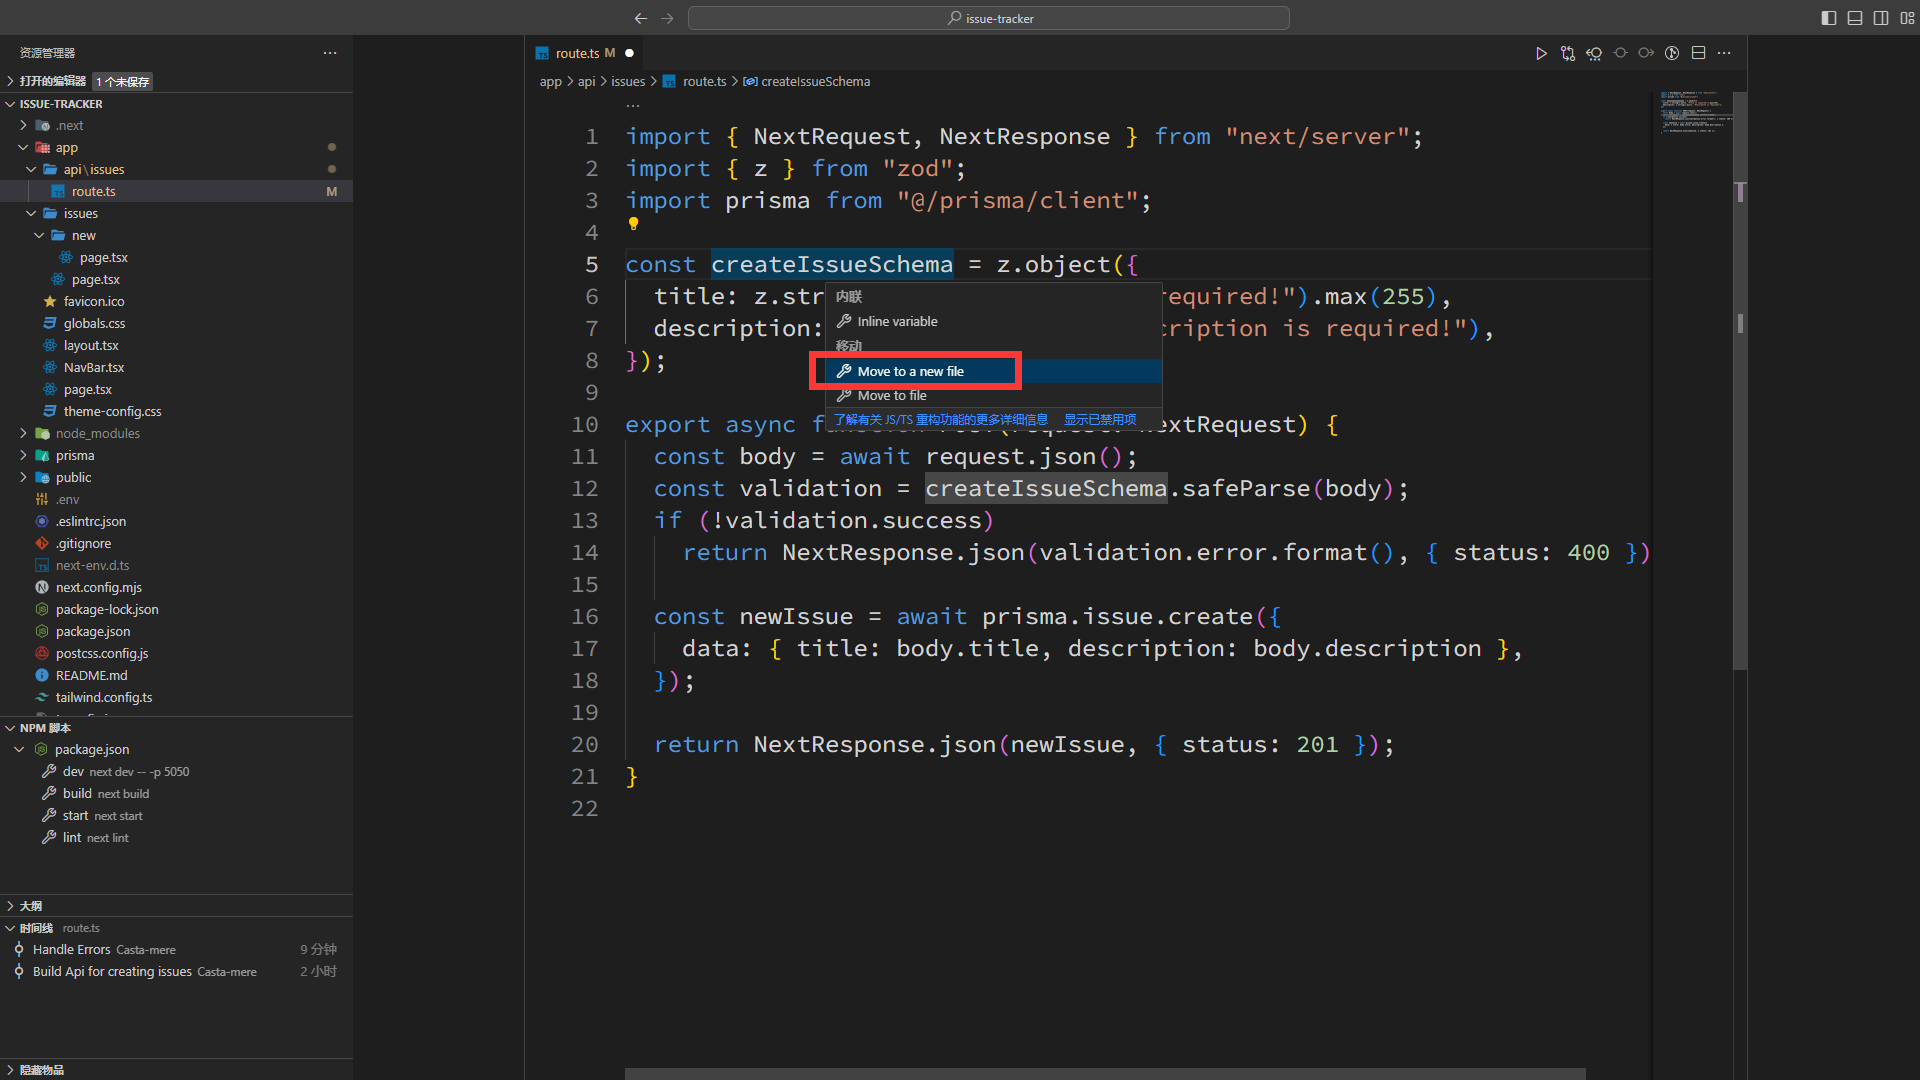
我们在用户端验证时,也需要用到刚刚 zod 中编辑的 schema,为此我们应该将其移动到一个单独的文件中。在 VS Code 中 可以方便的进行重构,将 createIssueSchema 移动到一个新文件中,并自动更新引用
首先右键想要重构的变量,点击 重构
然后选择 move to a new file
使用 Zod Schema 推断 interface
将刚刚移出的 schema 移动到 /app 目录下,重命名为 validationSchema.ts
之前在 new page 中,我们定义了一个 interface,用于定义表单,但其实与我们在 zod 中定义的内容是重复的,如果我们之后还需要增删内容,需要在两边修改,较为麻烦。我们可以直接使用刚刚的 zod schema 来定义 interface ,如下所示
# /app/issues/new/page.tsx+  import { createIssueSchema } from "@/app/validationSchema";
+  import { z } from "zod";
- interface IssueForm {
-   title: string;
-   description: string;
- }
+  type IssueForm = z.infer<typeof createIssueSchema>;
使用 hookform 集成 zod 验证表单
安装 hookform/resolvers,用于将 React Hook Form 插件使用表单验证插件(比如 zod)
npm i @hookform/resolvers
# /app/issues/new/page.tsx"use client";...// import
+ import { Button, Callout, Text, TextField } from "@radix-ui/themes";
+ import { zodResolver } from "@hookform/resolvers/zod";type IssueForm = z.infer<typeof createIssueSchema>;const NewIssuePage = () => {const {register,control,handleSubmit,// errors 则为验证结果
+     formState: { errors },} = useForm<IssueForm>({// 将 zodResoler 传入,以验证表单
+     resolver: zodResolver(createIssueSchema),});...return (<div className="max-w-xl">...<TextField.Root><TextField.Input placeholder="Title" {...register("title")} /></TextField.Root>{/* 根据验证结果来显示提示,此处为 title 字段的信息 */}
+       {errors.title && (
+         <Text color="red" as="p">
+           {errors.title.message}
+         </Text>
+       )}<Controllername="description"control={control}render={({ field }) => (<SimpleMDE placeholder="Description" {...field} />)}/>{/* 根据验证结果来显示提示,此处为 description 字段的信息 */}
+       {errors.description && (
+         <Text color="red" as="p">
+           {errors.description.message}
+         </Text>
+       )}...</div>);};export default NewIssuePage;
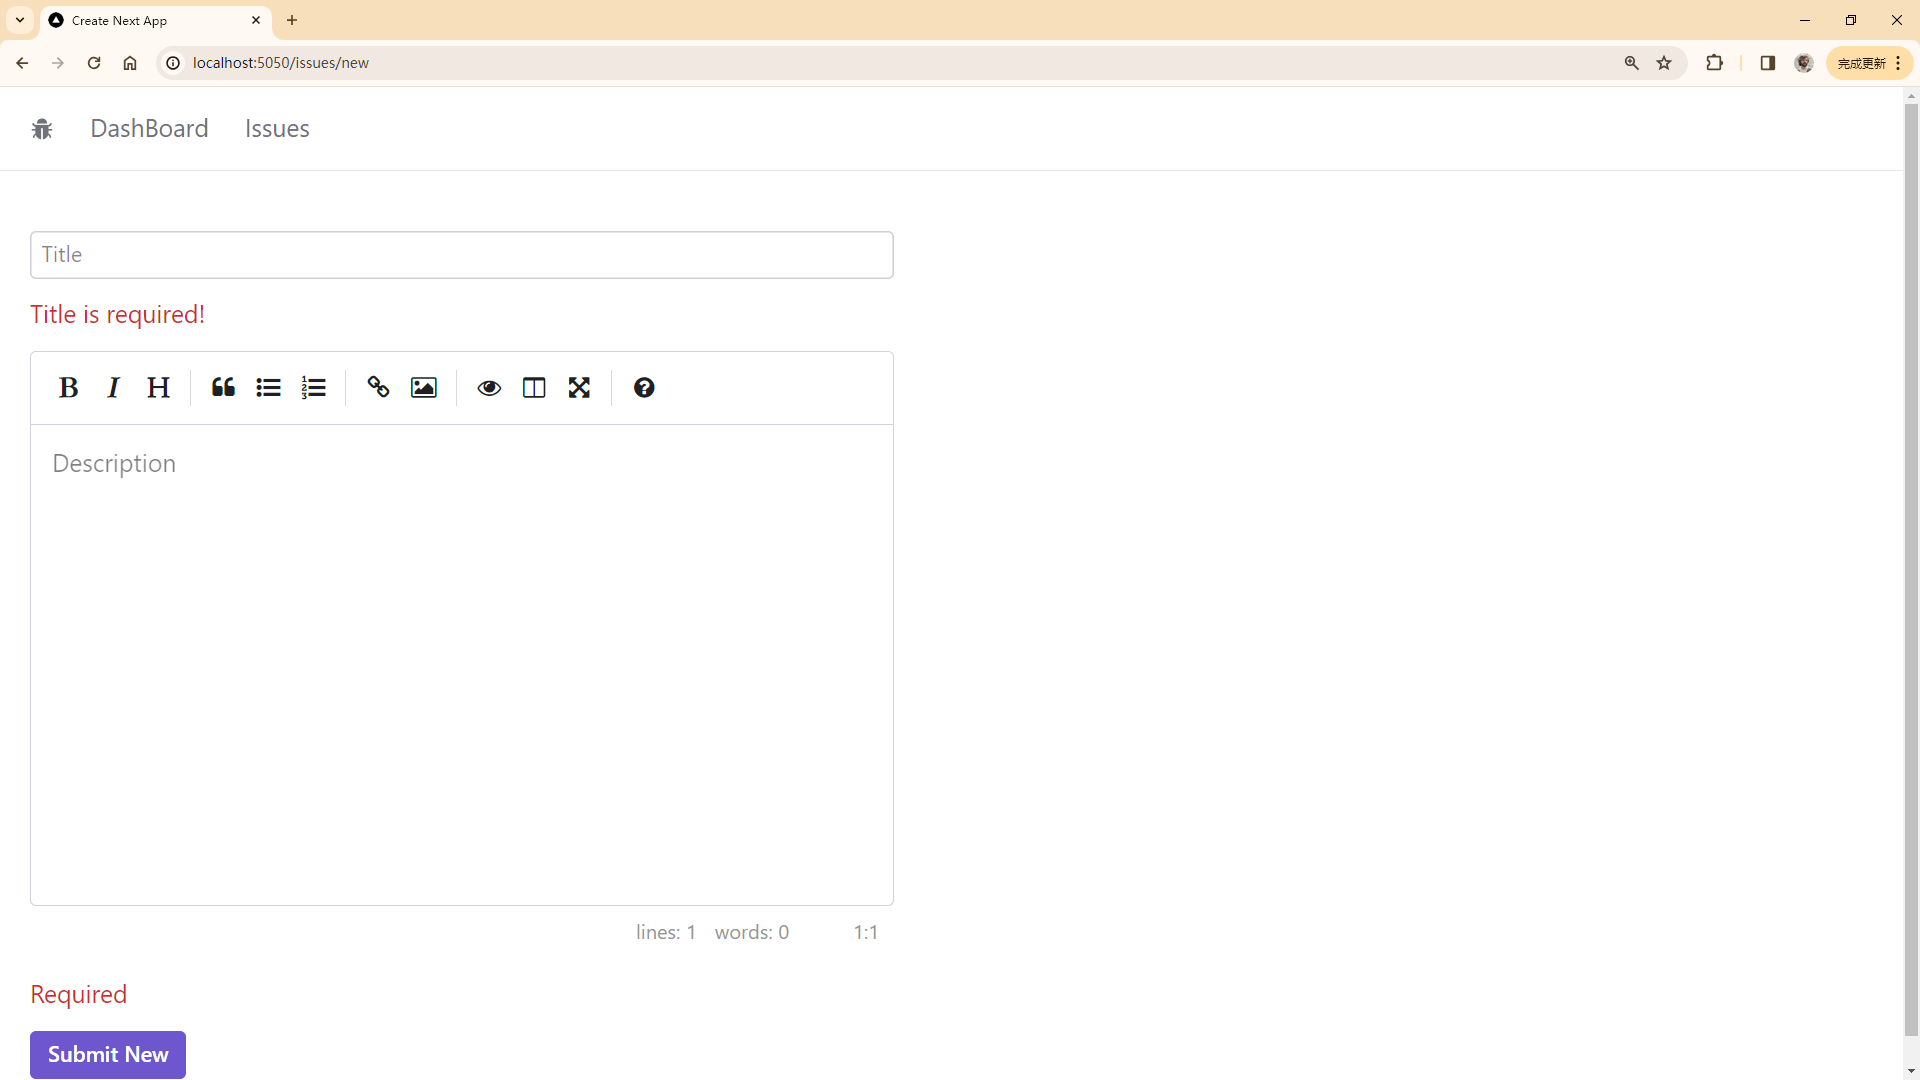
最终效果如下:
将 ErrorMessage 封装
# /app/components/ErrorMessage.tsximport { Text } from "@radix-ui/themes";
import { PropsWithChildren } from "react";const ErrorMessage = ({ children }: PropsWithChildren) => {if (!children) return null;return (<Text color="red" as="p">{children}</Text>);
};
export default ErrorMessage;
然后我们可以在 new Page 中直接调用
# /app/issues/new/page.tsx"use client";...// import
+ import ErrorMessage from "@/app/components/ErrorMessage";return (<div className="max-w-xl">...{/* 根据验证结果来显示提示,此处为 title 字段的信息 */}
-       {errors.title && (
-         <Text color="red" as="p">
-           {errors.title.message}
-         </Text>
-       )}
+       <ErrorMessage>{errors.title?.message}</ErrorMessage>...
-       {errors.description && (
-         <Text color="red" as="p">
-           {errors.description.message}
-         </Text>
-       )}
+        <ErrorMessage>{errors.description?.message}</ErrorMessage>...</div>);};export default NewIssuePage;
Button 优化技巧
本节代码链接
首先我们可以添加一个 Spinner 给 Button。其次,我们可以给 Button 添加一个 disabled 属性,使得其只能被点击一次,避免多次提交表单
Spinner 代码
# /app/issues/new/page.tsx+ import Spinner from "@/app/components/Spinner";const NewIssuePage = () => {
+   const [isSubmitting, setSubmitting] = useState(false);return (<div className="max-w-xl">...<formclassName="space-y-3"onSubmit={handleSubmit(async (data) => {try {
+             setSubmitting(true);await axios.post("/api/issues", data);router.push("/issues");} catch (error) {
+             setSubmitting(false);setError("An unexpected Error occured!");}})}>...
+         <Button disabled={isSubmitting}>
+           Submit New Issue {isSubmitting && <Spinner />}
+         </Button></form></div>);};
最终版本
本节代码链接
/app/issues/new/page.tsx"use client";
import { Button, Callout, Text, TextField } from "@radix-ui/themes";
import axios from "axios";
import "easymde/dist/easymde.min.css";
import { useRouter } from "next/navigation";
import { useState } from "react";
import { Controller, useForm } from "react-hook-form";
import SimpleMDE from "react-simplemde-editor";
import { zodResolver } from "@hookform/resolvers/zod";
import { createIssueSchema } from "@/app/validationSchema";
import { z } from "zod";
import ErrorMessage from "@/app/components/ErrorMessage";type IssueForm = z.infer<typeof createIssueSchema>;const NewIssuePage = () => {const {register,control,handleSubmit,formState: { errors },} = useForm<IssueForm>({resolver: zodResolver(createIssueSchema),});const router = useRouter();const [error, setError] = useState("");return (<div className="max-w-xl">{error && (<Callout.Root color="red" className="mb-5"><Callout.Text>{error}</Callout.Text></Callout.Root>)}<formclassName="space-y-3"onSubmit={handleSubmit(async (data) => {try {await axios.post("/api/issues", data);router.push("/issues");} catch (error) {setError("An unexpected Error occured!");}})}><TextField.Root><TextField.Input placeholder="Title" {...register("title")} /></TextField.Root><ErrorMessage>{errors.title?.message}</ErrorMessage><Controllername="description"control={control}render={({ field }) => (<SimpleMDE placeholder="Description" {...field} />)}/><ErrorMessage>{errors.description?.message}</ErrorMessage><Button>Submit New</Button></form></div>);
};
export default NewIssuePage;
CSDN 的排版/样式可能有问题,去我的博客查看原文系列吧,觉得有用的话,给我的库点个star,关注一下吧
下一篇讲查看 Issue