福建建设执业管理中心网站专业seo公司
目录
1.方式一:继承Thread(2种写法)
写法①(常规):
a.使用jconsole观察线程
b.启动线程——start方法
PS:(常见面试题)start 方法与 run 方法的区别:
写法②(简化):匿名方式创建子对象
2.方式二:实现Runnable接口(3种写法)
写法③(常规):
写法④(变种):匿名Runnable方式(匿名内部类)
写法⑤(变种):使用Lambda匿名Runable方式(更简单)
3.方式三:实现Callable接口(带返回值可为任意类型)(2种写法)
写法⑥(常规):Callable + FutureTask(一个容器,用来接收线程执行的返回值)
写法⑦(简单):匿名Callable
1.方式一:继承Thread(2种写法)
写法①(常规):
/*** 继承 Thread 创建线程*/
public class ThreadDemo3 {public static void main(String[] args) {//获得当前的线程Thread mainThread = Thread.currentThread();System.out.println("主线程的名称:" + mainThread.getName());//创建线程Thread thread = new MyThread();//开启线程thread.start();}
}class MyThread extends Thread {@Override //需要重写run方法public void run() {//具体的业务执行代码Thread thread = Thread.currentThread(); //得到当前运行的线程try {Thread.sleep(60 * 60 * 1000);} catch (InterruptedException e) {e.printStackTrace();}System.out.println("线程的名称:" + thread.getName()); //打印当前线程的名称}
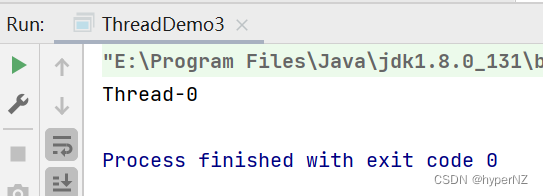
}a.使用jconsole观察线程
启动上面程序后:


b.启动线程——start方法
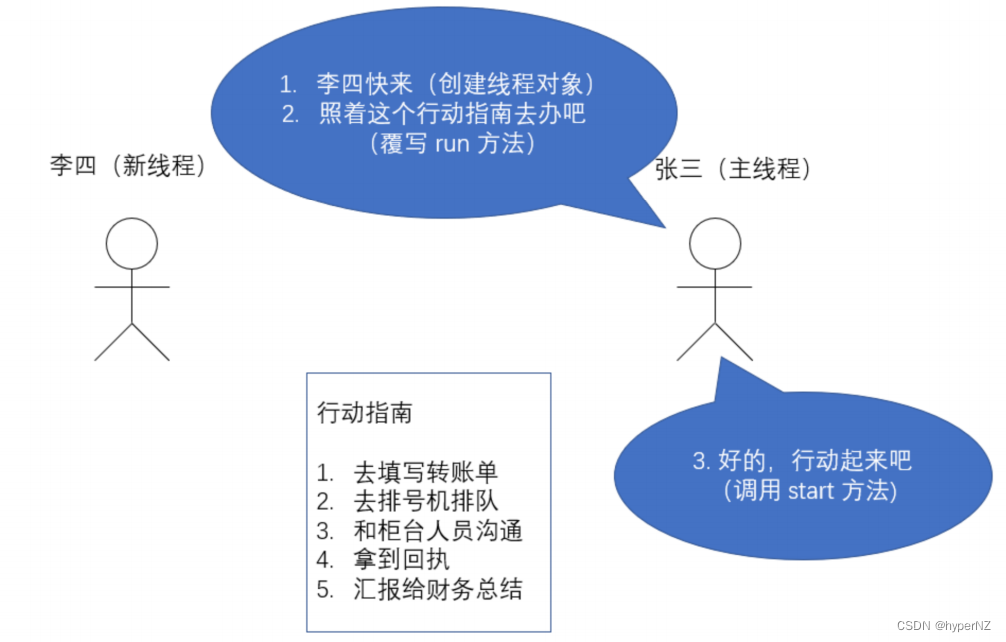
- 通过覆写 run ⽅法创建⼀个线程对象,但线程对象被创建出来并不意味着线程就开始运⾏了。(相当于提供给线程要做的事情的指令清单。 线程对象可以认为是把李四、王五叫过来了)
- 调⽤ start ⽅法, 才真的在操作系统的底层创建出⼀个线程。 (就是喊⼀声:”⾏动起来!“,线程才真正独⽴去执⾏了)
PS:(常见面试题)start 方法与 run 方法的区别:
public class ThreadDemo3 {public static void main(String[] args) {//创建线程Thread thread = new MyThread();//开启线程thread.start();
//        thread.run();}
}class MyThread extends Thread {@Overridepublic void run() {System.out.println("你好,线程");}
}
二者执行结果都是:
二者具体区别:
区别一:【方法性质不同】run 是一个普通方法,而 start 是开启新线程的方法。
- 调用 run 方法相当于执行普通方法 run,其实是调用当前主程序 main 来执行方法体的,(所有的main方法都会创建一个名为main的线程)并不会开启新线程;
- 而调用 start 方法是真正开启一个新线程来执行任务。
public class ThreadDemo3 {public static void main(String[] args) {//创建线程Thread thread = new MyThread();//开启线程thread.start();
//        thread.run();}
}class MyThread extends Thread {@Overridepublic void run() {Thread thread = Thread.currentThread();System.out.println(thread.getName());}
}
start:
run:
区别二:【执行速度不同】调用 run 方法会立即执行任务,调用 start 方法是将线程的状态改为就绪状态,不会立即执行。
- run 方法也叫做线程体,它里面包含了具体要执行的业务代码,当调用 run 方法时,会立即执行 run 方法中的代码(如果当前线程时间片未用完);
- 而调用 start 方法时,是启动一个线程并将线程的状态设置为就绪状态,并不会立即执行。
区别三:【调用次数不同】run 方法可以被重复调用,而 start 方法只能被调用一次。
- 因为 run 方法是普通方法,而普通方法是可以被多次调用的,所以 run 方法可以被调用多次;
- 而start 方法是创建新线程来执行任务,因为线程只能被创建一次,且线程状态是不可逆的。当线程调用了第一个 start 方法之后,线程的状态就会从新建状态 NEW,变为就绪状态 RUNNABLE,此时再次调用 start 方法,JVM 就会判断出当前的线程已经不等于新建状态,从而抛出 IllegalThreadStateException 非法线程状态异常。
start方法源码:
【Thread 在 start 的实现源码中做了判断看当前线程的状态是不是等于 0,也就是是否为新建状态NEW,如果线程不是新建状态 NEW,则会抛出非法线程状态异常 IllegalThreadStateException。】
public class ThreadDemo3 {public static void main(String[] args) {//创建线程Thread thread = new MyThread(); //NEW新建状态//开启线程thread.run(); //RUNABLE运行状态thread.run();thread.run();thread.start();thread.start();thread.start();}
}class MyThread extends Thread {@Overridepublic void run() {Thread thread = Thread.currentThread();System.out.println(thread.getName());}
}


写法②(简化):匿名方式创建子对象
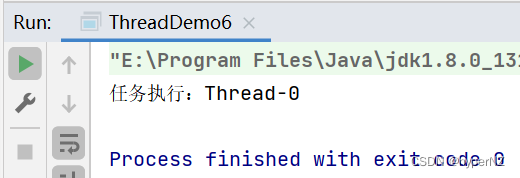
public class ThreadDemo6 {public static void main(String[] args) {//创建线程并初始化Thread thread = new Thread() {@Overridepublic void run() {Thread t = Thread.currentThread();System.out.println("任务执行:" + t.getName());}};//执行线程thread.start();}
}
写法和↓类似:
List<String> list = new ArrayList<String>() {{add("ddd");
}};
继承Thread新建线程的缺点:Java 是单继承,继承了 Thread 就不能继承其他类了;然⽽ Java 可以实现多个接⼝,于是有了下⼀种⽅式。
2.方式二:实现Runnable接口(3种写法)
写法③(常规):
/*** 实现Runnable接口新建线程*/
public class ThreadDemo4 {public static void main(String[] args) {// Runnable不是Thread的子类,所以不能用之前的方式直接new一个MyThread2()// 而Thread类可以接收一个Runnable接口作为它的入参//创建RunnableMyThread2 myThread2 = new MyThread2();//创建一个线程Thread thread = new Thread(myThread2);//启动线程thread.start();}
}class MyThread2 implements Runnable {@Overridepublic void run() {//具体的业务代码Thread thread = Thread.currentThread(); //得到当前线程System.out.println("线程执行:" + thread.getName());}
}
写法④(变种):匿名Runnable方式(匿名内部类)
/*** Runnable匿名内部类来创建*/
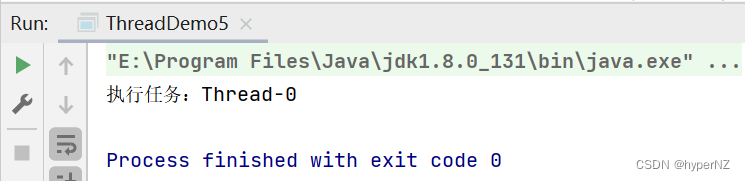
public class ThreadDemo5 {public static void main(String[] args) {//匿名内部类Thread thread = new Thread(new Runnable() {@Overridepublic void run() {//业务代码Thread t = Thread.currentThread();System.out.println("执行任务:" + t.getName());}});//启动线程thread.start();}
}
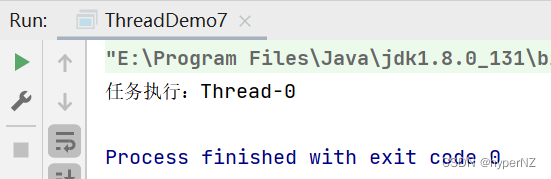
写法⑤(变种):使用Lambda匿名Runable方式(更简单)
/*** 使用 lambda 来创建 Runnable*/
public class ThreadDemo7 {public static void main(String[] args) {//创建线程Thread thread = new Thread(() -> {//具体业务Thread t = Thread.currentThread();System.out.println("任务执行:" + t.getName());});//启动线程thread.start();}
}
进入Lambda表达式查看源码:
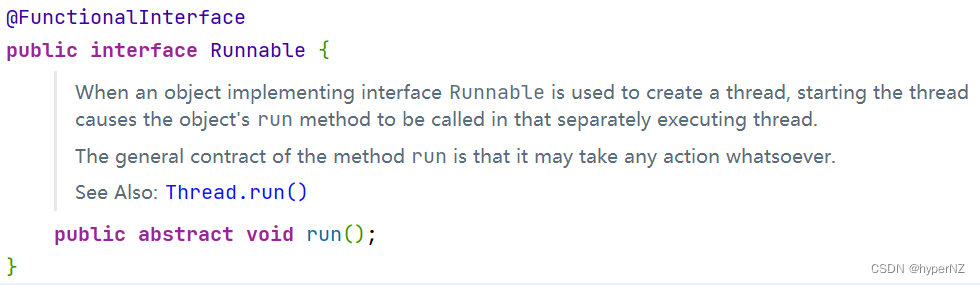
Lambda表达式是对于Runnable这个FunctionalInterface的一个实例化。
注:以上简单&变种支持JDK1.8+版本。
以上5种写法的共同问题:都没有返回值,当线程执行完成之后,主线程没法拿到新线程的执行结果。
3.方式三:实现Callable接口(带返回值可为任意类型)(2种写法)
写法⑥(常规):Callable + FutureTask(一个容器,用来接收线程执行的返回值)
Runnable(JDK1.0)比Callable(JDK1.5)诞生得早,后来当需要拿到线程的返回值时(使用频率低),为了不增加学习成本,改动原有Thread写法,新创建了FutureTask来接收线程执行的返回值。
import java.util.Random;
import java.util.concurrent.Callable;
import java.util.concurrent.ExecutionException;
import java.util.concurrent.FutureTask;/*** 实现Callable新建线程*/
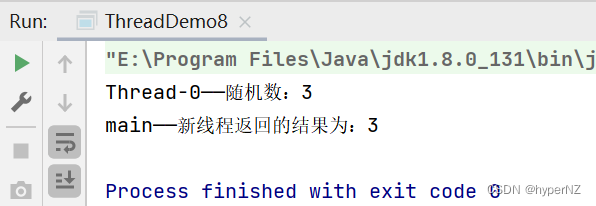
public class ThreadDemo8 {public static void main(String[] args) throws ExecutionException, InterruptedException {//创建Callable实例MyCallable myCallable = new MyCallable();//用于接收Callable结果的对象FutureTask<Integer> futureTask = new FutureTask<>(myCallable);//创建新线程Thread thread = new Thread(futureTask); //Thread线程只能接收2种类型的参数,要么是Runnable,要么是FutureTask,不能直接接收一个Callable对象//启动线程thread.start();//接收新线程执行的结果int result = futureTask.get();System.out.println(Thread.currentThread().getName() + "——新线程返回的结果为:" + result);}
}/*** Callable<V> 泛型里面可以是任意数据类型*/
class MyCallable implements Callable<Integer> {@Overridepublic Integer call() throws Exception {//生成随机数的范围是0-9int randomNum = new Random().nextInt(10);System.out.println(Thread.currentThread().getName() + "——随机数:" + randomNum);return randomNum;}
}
写法⑦(简单):匿名Callable
import java.util.Random;
import java.util.concurrent.Callable;
import java.util.concurrent.ExecutionException;
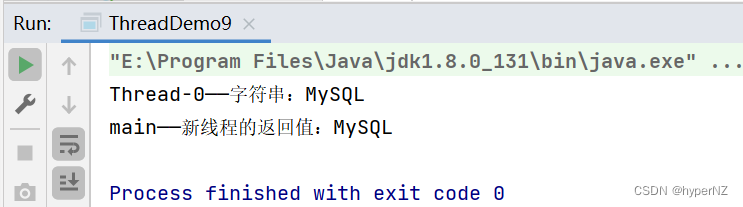
import java.util.concurrent.FutureTask;public class ThreadDemo9 {public static void main(String[] args) throws ExecutionException, InterruptedException {FutureTask<String> futureTask = new FutureTask<>(new Callable<String>() {@Overridepublic String call() throws Exception {//新线程执行的业务代码String[] arrs = new String[]{"Java", "MySQL","Thread"};//随机返回一个字符串String result = arrs[new Random().nextInt(3)];System.out.println(Thread.currentThread().getName() + "——字符串:" + result);return result;}});//创建新线程Thread thread = new Thread(futureTask);//启动线程thread.start();String result = futureTask.get();System.out.println(Thread.currentThread().getName() + "——新线程的返回值:" + result);}
}
- 如果是 JDK 1.8 以上版本(含1.8),在不需要获得线程执⾏结果的情况下,推荐使⽤写法②匿名方式创建子对象或写法⑤Lambda ⽅式来创建线程,因为简洁。
- 如果想要获取线程执⾏结果,推荐使用写法⑦ FutureTask + Callable 的⽅式来实现。