鹤壁搜索引擎优化宁波seo外包推广渠道
创建项目并启动项目
// 1.创建项目,直接在空项目下安装vitepress(npm/yarn等都可以,这个可以看官网,官网给了好几种安装方式)
yarn add -D vitepress
// 2.初始化配置项目(npm/官网也给了多种包管理工具的安装方式)
npx vitepress init
// 初始化命令执行完会遇到以下几个问题
┌  Welcome to VitePress!
│
◇  Where should VitePress initialize the config?  // 将哪个目录作为根目录(默认./)
│  ./docs
│
◇  Site title: // 设置标题(有默认的,可以直接回车,后期可以改)
│  My Awesome Project
│
◇  Site description: // 设置网站描述(也是可以默认的,后期可以改)
│  A VitePress Site
│
◆  Theme: //选择使用的主题模版
│  ● Default Theme (Out of the box, good-looking docs)  //默认的主题模版
│  ○ Default Theme + Customization //使用默认+自定义的,我选的这个
│  ○ Custom Theme //使用自定义主题
◇  Use TypeScript for config and theme files? //是否使用ts作为模版(我选的是no)
│  ● Yes / ○ No
◆  Add VitePress npm scripts to package.json? //是否将package.json作为配置文件(这里选择yes)
│  ● Yes / ○ No
└
// 整体为:./docs 回车 回车 第二个 no yes
这样就创建完毕了,目前项目的结构应该是如下所示:
├─ docs
│  ├─ .vitepress //当前目录所在的位置就是文档的根目录
│  │  └─ config.js //项目的配置文件,最重要
│  ├─ api-examples.md
│  ├─ markdown-examples.md
│  └─ index.md
└─ package.json
项目启动
yarn docs:dev
得到如下页面(这样项目就搭建完成了)
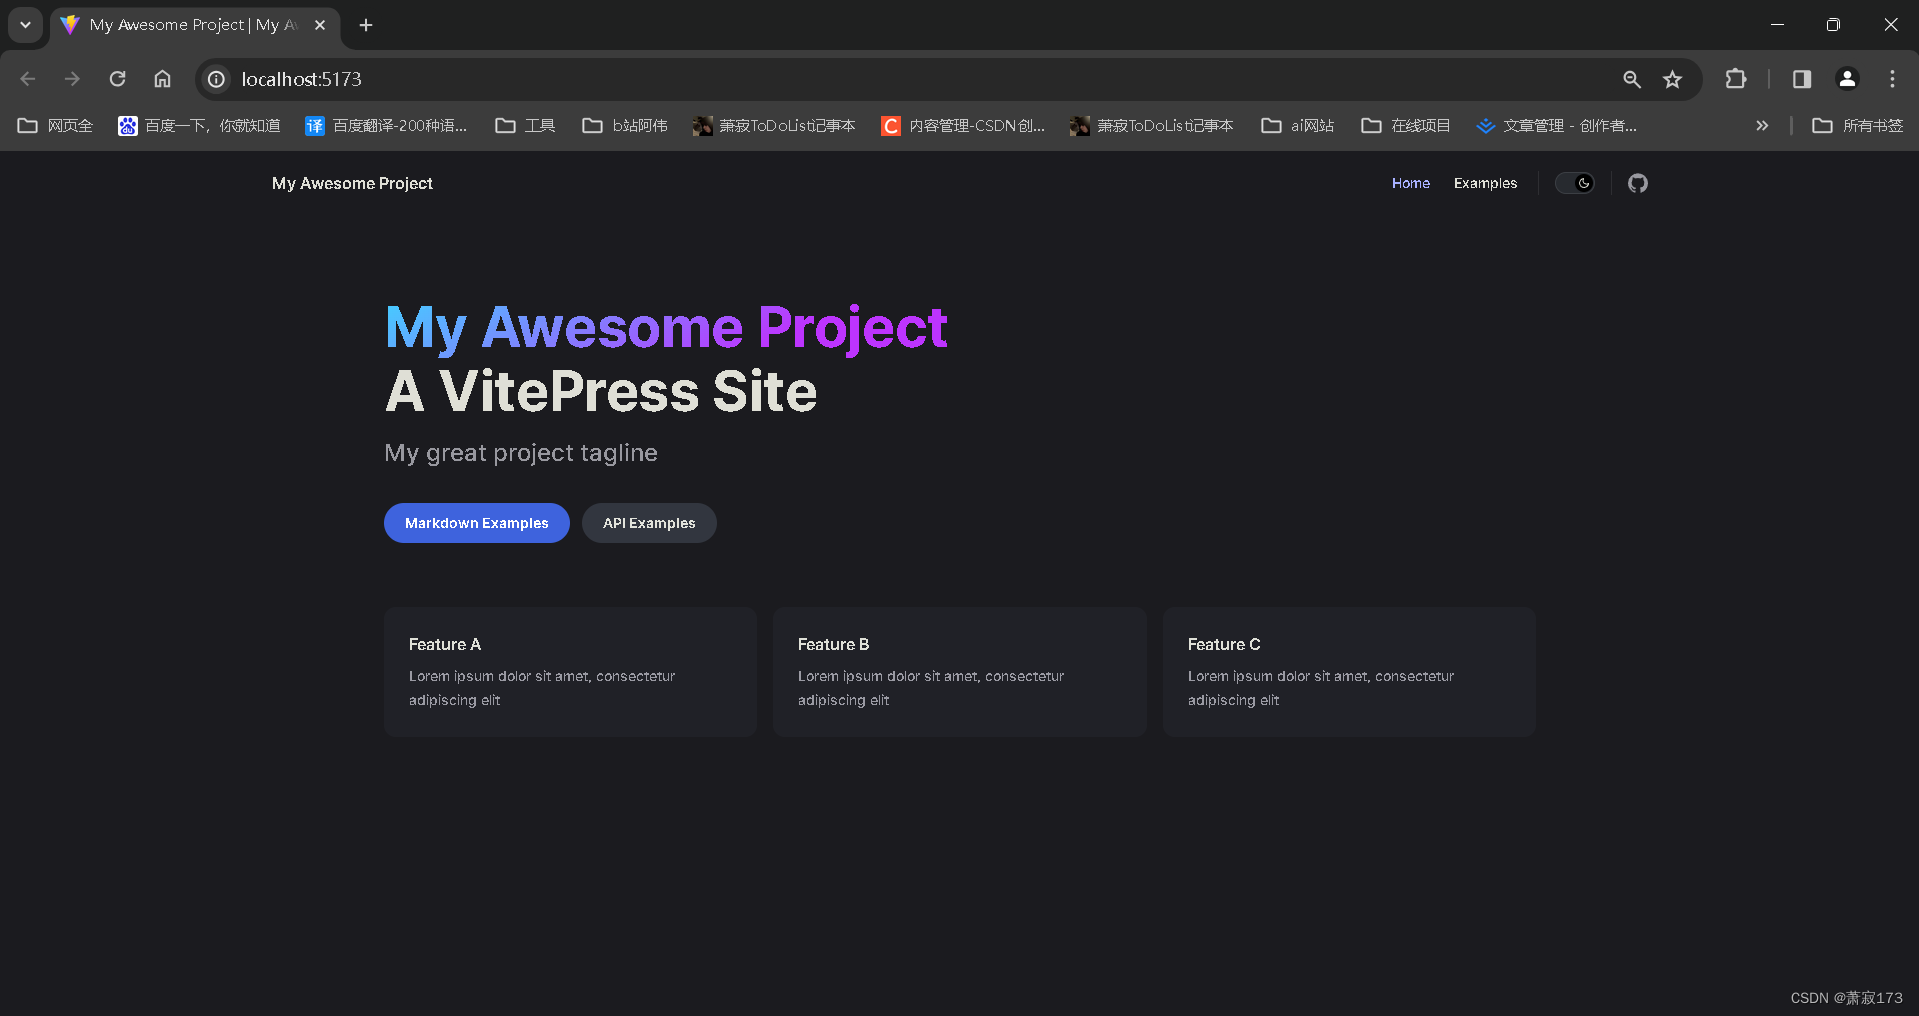
运行原理:项目启动后会允许根目录下的index.md,在项目里面所有的md文档均会被编译为html,这里项目的根目录被设置为了./docs,因此会先运行/docs/index.md以下所有介绍的根目录均代表./docs目录下
配置介绍
首页
---
# https://vitepress.dev/reference/default-theme-home-page
layout: home  //指定以home格式呈现(一共有三种模式呈现doc,page,home,默认以doc格式呈现)//下面的这些都是页面的显示各位可以去参考页面
hero:name: "My Awesome Project"text: "A VitePress Site"tagline: My great project taglineimage:scr:/logo.svg  //默认找根目录下的public文件夹内的图片alt:VitePressactions:- theme: brandtext: Markdown Exampleslink: /markdown-examples- theme: alttext: API Exampleslink: /api-examplesfeatures:- title: Feature Adetails: Lorem ipsum dolor sit amet, consectetur adipiscing elit- title: Feature Bdetails: Lorem ipsum dolor sit amet, consectetur adipiscing elit- title: Feature Cdetails: Lorem ipsum dolor sit amet, consectetur adipiscing elit
---
文件路由
根目录下的config.mjs里面
import { defineConfig } from 'vitepress'// https://vitepress.dev/reference/site-config
export default defineConfig({title: "萧寂博客园",description: "A VitePress Site",themeConfig: {// https://vitepress.dev/reference/default-theme-confignav: [  //右上角导航栏{text: '前端', items: [{ text: '前端子页面', link: '/web/index' },{text: '',  //这个写东西了就代表有标题了items: [{ text: '前端子页面', link: '/web/进阶基础' },]}]},{ text: '标签页', link: '/markdown-examples' }],sidebar: {// 下面这个当匹配到对应的路由时会动态加载侧边栏,例如下面我这个就是匹配到/web/index这个时才展示侧边栏// 下面这种方法可以保证页面切换左边侧边栏不会消失'/web/index': {title: 'web前端',items: [{ text: '前端首页', link: '/web/index' },{ text: '前端侧边栏', link: '/web/进阶基础' }]},'/web/进阶基础': {title: '进阶基础',items: [{ text: '前端首页', link: '/web/index' },{ text: '前端侧边栏', link: '/web/进阶基础' },]}},socialLinks: [  // 右上角的图标(如github这种){ icon: 'github', link: 'https://github.com/vuejs/vitepress' }]}
})
文档模式
一共有三种模式呈现doc,page,home,默认以doc格式呈现
更改文档模式如下(在当前指定的md文件最上面填写如下代码)
---
layout:home
---
图片资源
图片资源放在根目录下的public文件夹内,可以直接写名字,默认这个名字的资源是去找public文件夹第一层去找同名文件