企业网站模板源码起名成人电脑速成培训班
文章目录
- 前言
- 一、绘制图形
- 1. 绘制直线
- 2. 绘制圆
- 3. 绘制矩形
- 4. 绘制椭圆
- 5. 绘制多边形
- 6. 绘制文字
- 7. 可选参数
- 8. 手工绘制OpenCV的logo
- 二、图像金字塔
- 1. 高斯金字塔
- 2. 拉普拉斯金字塔
- 三、感兴趣区域(ROI)
- 数组切片方式
- OpenCV截取方式
- 总结
前言
OpenCV是一个强大的计算机视觉库,广泛应用于图像处理、计算机视觉和机器学习等领域。本文将介绍OpenCV中的一些基础功能,包括如何绘制图形、创建图像金字塔以及如何处理感兴趣区域(ROI)。

一、绘制图形
在OpenCV中,绘制图形是一项基础且常见的任务,它涉及到在图像上绘制直线、圆和矩形等几何形状。以下是针对每一种图形的详细阐述:
1. 绘制直线
使用cv2.line()函数可以在图像上绘制直线。函数的基本格式如下:
cv2.line(img, pt1, pt2, color, thickness)
img: 要绘制直线的图像。pt1和pt2: 直线的起点和终点坐标。color: 直线的颜色,通常以BGR格式表示。thickness: 直线的粗细。
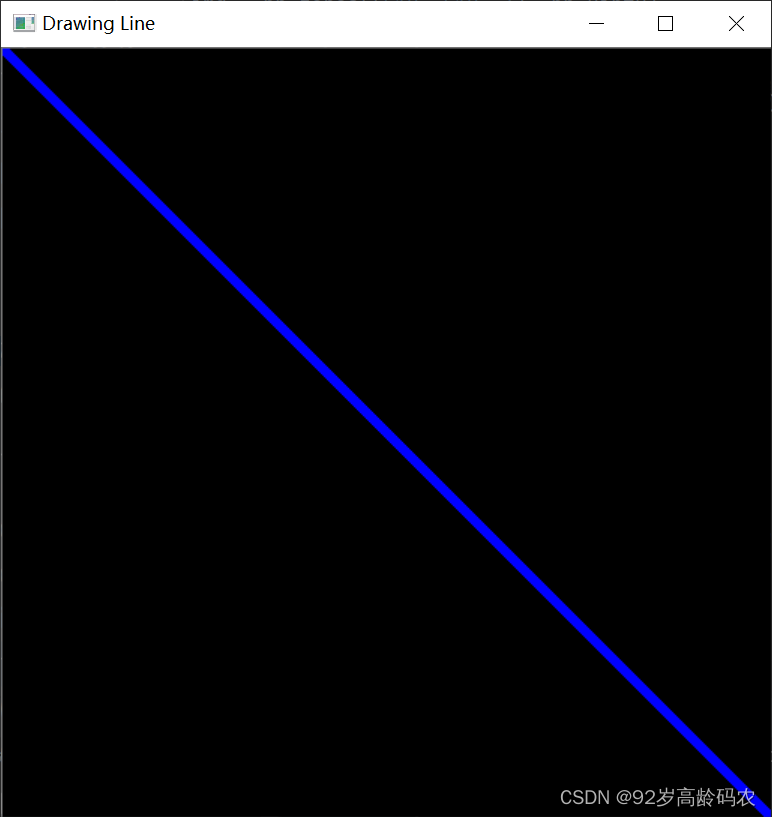
以下是一个简单的例子,演示如何在黑色背景上绘制一条蓝色直线:
import cv2
import numpy as np# 创建一个黑色背景的图像
img = np.zeros((512, 512, 3), np.uint8)# 绘制蓝色直线
cv2.line(img, (0, 0), (511, 511), (255, 0, 0), 5)# 显示图像
cv2.imshow('Drawing Line', img)
cv2.waitKey(0)
cv2.destroyAllWindows()
在这个例子中,我们创建了一个512x512的黑色图像,并使用cv2.line()在图像上绘制了一条蓝色直线,起点是(0, 0),终点是(511, 511),线的粗细为5。
2. 绘制圆
使用cv2.circle()函数可以在图像上绘制圆。函数的基本格式如下:
cv2.circle(img, center, radius, color, thickness)
img: 要绘制圆的图像。center: 圆心的坐标。radius: 圆的半径。color: 圆的颜色,通常以BGR格式表示。thickness: 圆的边框粗细,如果为负值,表示绘制实心圆。
以下是一个简单的例子,演示如何在黑色背景上绘制一个绿色实心圆:
import cv2
import numpy as np# 创建一个黑色背景的图像
img = np.zeros((512, 512, 3), np.uint8)# 绘制绿色实心圆
cv2.circle(img, (256, 256), 50, (0, 255, 0), -1)# 显示图像
cv2.imshow('Drawing Circle', img)
cv2.waitKey(0)
cv2.destroyAllWindows()
在这个例子中,我们创建了一个512x512的黑色图像,并使用cv2.circle()在图像上绘制了一个绿色实心圆,圆心为(256, 256),半径为50。

3. 绘制矩形
使用cv2.rectangle()函数可以在图像上绘制矩形。函数的基本格式如下:
cv2.rectangle(img, pt1, pt2, color, thickness)
img: 要绘制矩形的图像。pt1和pt2: 矩形的对角线两个顶点的坐标。color: 矩形的颜色,通常以BGR格式表示。thickness: 矩形的边框粗细,如果为负值,表示绘制实心矩形。
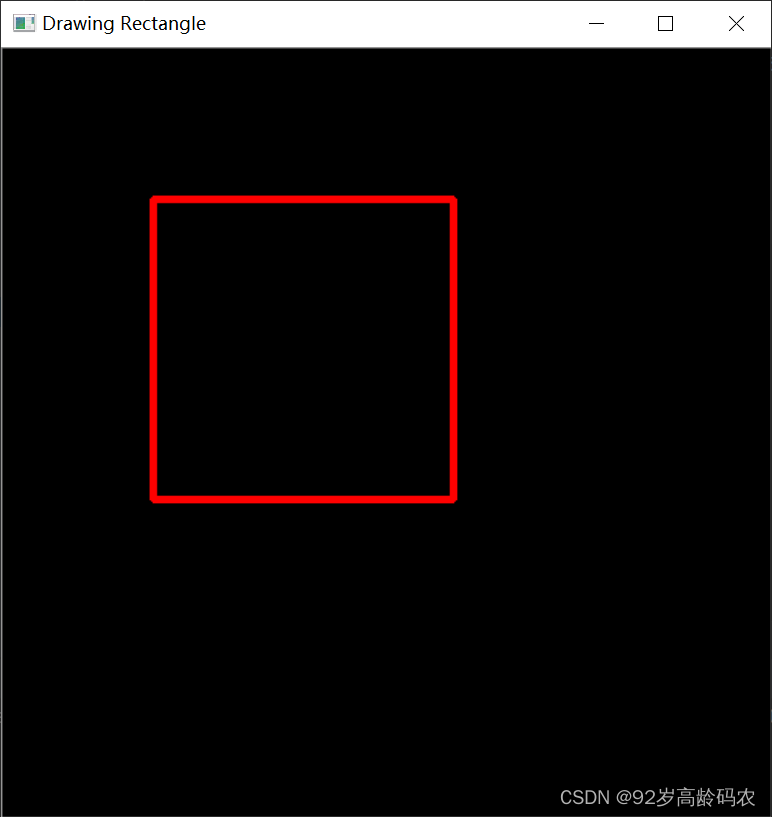
以下是一个简单的例子,演示如何在黑色背景上绘制一个红色边框的矩形:
import cv2
import numpy as np# 创建一个黑色背景的图像
img = np.zeros((512, 512, 3), np.uint8)# 绘制红色边框的矩形
cv2.rectangle(img, (100, 100), (300, 300), (0, 0, 255), 3)# 显示图像
cv2.imshow('Drawing Rectangle', img)
cv2.waitKey(0)
cv2.destroyAllWindows()
在这个例子中,我们创建了一个512x512的黑色图像,并使用cv2.rectangle()在图像上绘制了一个红色边框的矩形,对角线两个顶点分别为(100, 100)和(300, 300),边框粗细为3。
4. 绘制椭圆
使用cv2.ellipse()函数可以在图像上绘制椭圆。函数的基本格式如下:
cv2.ellipse(img, center, axes, angle, startAngle, endAngle, color, thickness=None)
img: 要绘制椭圆的图像。center: 椭圆中心的坐标。axes: 椭圆的长轴和短轴的长度。angle: 椭圆旋转的角度。startAngle和endAngle: 椭圆弧的起始角度和结束角度。color: 椭圆的颜色。thickness: 椭圆边框的粗细,如果为负值,表示绘制实心椭圆。
以下是一个简单的例子,演示如何在黑色背景上绘制一个黄色椭圆弧:
import cv2
import numpy as np# 创建一个黑色背景的图像
img = np.zeros((512, 512, 3), np.uint8)# 绘制黄色椭圆弧
cv2.ellipse(img, (256, 256), (100, 50), 45, 0, 270, (0, 255, 255), 10)# 显示图像
cv2.imshow('Drawing Ellipse', img)
cv2.waitKey(0)
cv2.destroyAllWindows()
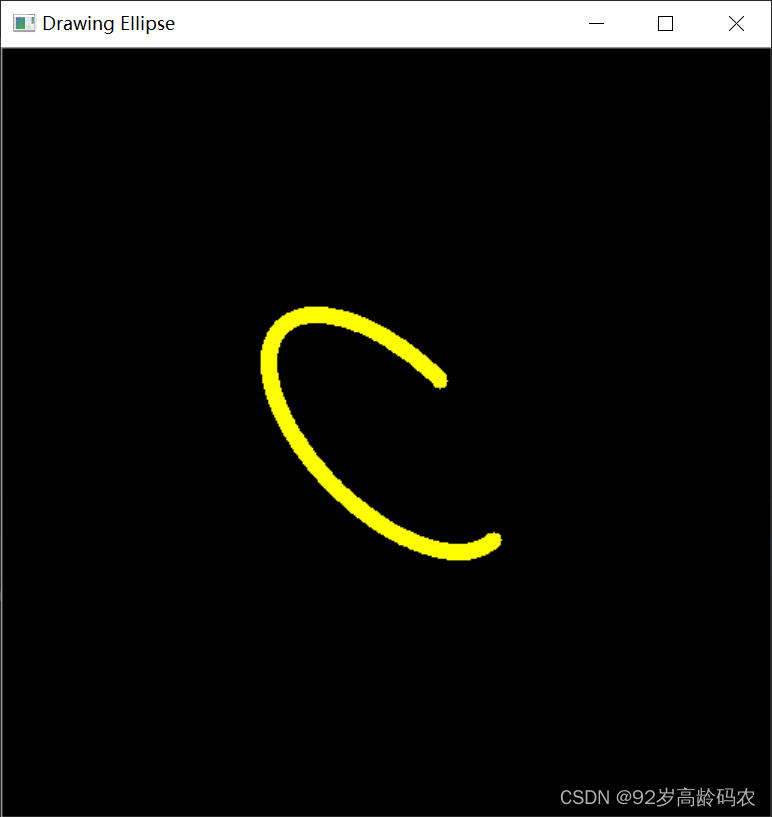
在这个例子中,我们创建了一个512x512的黑色图像,并使用cv2.ellipse()在图像上绘制了一个黄色椭圆弧,中心坐标为(256, 256),长轴和短轴的长度分别为100和50。
5. 绘制多边形
使用cv2.polylines()函数可以在图像上绘制多边形。函数的基本格式如下:
cv2.polylines(img, pts, isClosed, color, thickness=None)
img: 要绘制多边形的图像。pts: 多边形的顶点坐标。isClosed: 多边形是否闭合,如果为True,表示首尾相接形成封闭的多边形。color: 多边形的颜色。thickness: 多边形边框的粗细,如果为负值,表示绘制实心多边形。
以下是一个简单的例子,演示如何在黑色背景上绘制一个绿色三角形:
import cv2
import numpy as np# 创建一个黑色背景的图像
img = np.zeros((512, 512, 3), np.uint8)# 定义三角形的顶点坐标
pts = np.array([[100, 300], [300, 300], [200, 100]], np.int32)
pts = pts.reshape((-1, 1, 2))# 绘制青色三角形
cv2.polylines(img, [pts], isClosed=True, color=(255, 255, 0), thickness=20)# 显示图像
cv2.imshow('Drawing Polygon', img)
cv2.waitKey(0)
cv2.destroyAllWindows()
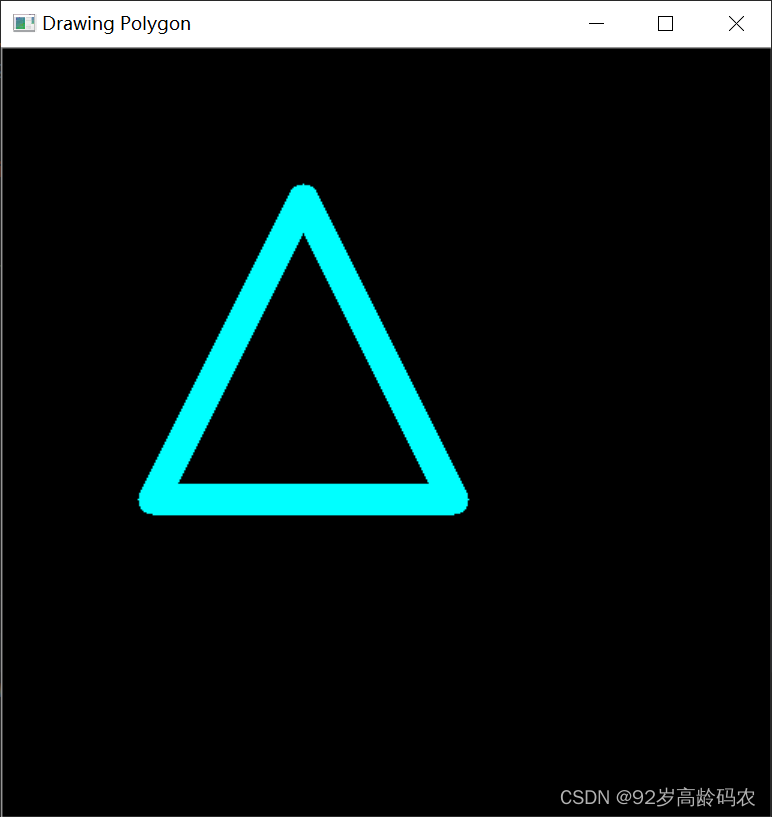
在这个例子中,我们创建了一个512x512的黑色图像,并使用cv2.polylines()在图像上绘制了一个绿色的闭合三角形。
6. 绘制文字
使用cv2.putText()函数可以在图像上绘制文字。函数的基本格式如下:
cv2.putText(img, text, org, fontFace, fontScale, color, thickness=None, lineType=None, bottomLeftOrigin=None)
img: 要绘制文字的图像。text: 要绘制的文字。org: 文字的起始坐标。fontFace: 字体类型。fontScale: 字体的缩放比例。color: 文字的颜色。thickness: 文字的粗细。lineType: 文字边框的类型。bottomLeftOrigin: 如果为True,表示org参数是左下角的坐标,如果为False(默认),表示org参数是左上角的坐标。
以下是一个简单的例子,演示如何在黑色背景上绘制白色文字:
import cv2
import numpy as np# 创建一个黑色背景的图像
img = np.zeros((512, 512, 3), np.uint8)# 绘制白色文字
cv2.putText(img, 'Hello OpenCV', (50, 200), cv2.FONT_HERSHEY_SIMPLEX, 2, (255, 255, 255), 2)# 显示图像
cv2.imshow('Drawing Text', img)
cv2.waitKey(0)
cv2.destroyAllWindows()
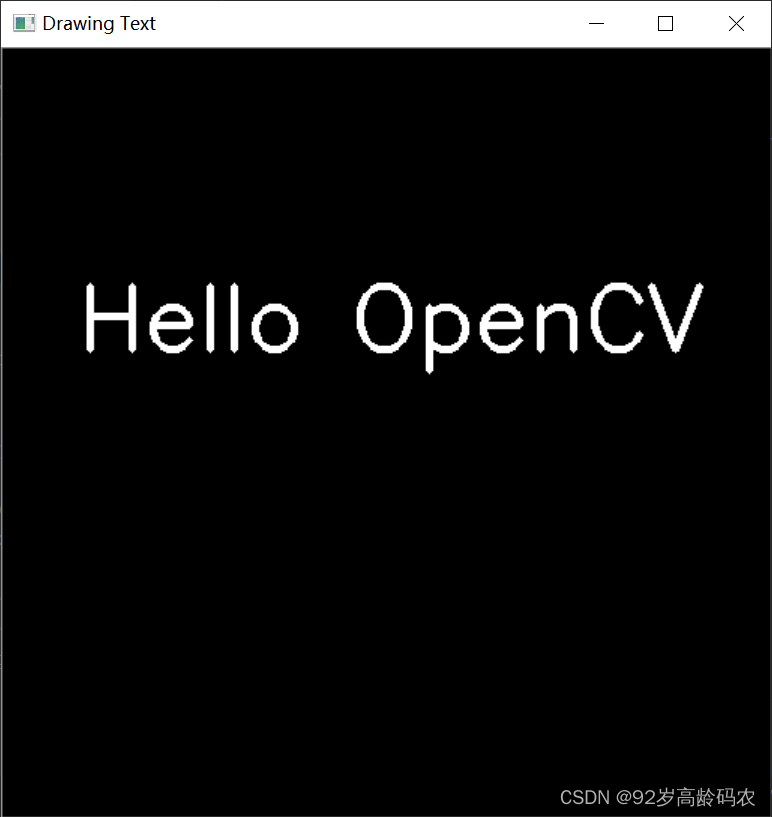
在这个例子中,我们创建了一个512x512的黑色图像,并使用cv2.putText()在图像上绘制了白色的文字,文字内容为"Hello OpenCV",起始坐标为(50, 200),字体类型为cv2.FONT_HERSHEY_SIMPLEX,字体缩放比例为2。
7. 可选参数
在OpenCV的绘图函数中,lineType和shift是两个用于控制绘制图形的可选参数。
lineType:线的类型
lineType参数用于指定绘制线的类型,即线的外观。它通常可以取以下几个值:
cv2.LINE_4:4-connected line(默认值),表示绘制4连接线。cv2.LINE_8:8-connected line,表示绘制8连接线。cv2.LINE_AA:Anti-aliased line,表示绘制抗锯齿线,使得线条更加平滑。
示例:
cv2.line(img, (0, 0), (511, 511), (255, 0, 0), 5, cv2.LINE_AA)
在这个例子中,cv2.LINE_AA被用于绘制抗锯齿效果的线。
shift:坐标精度位数
shift表示在点坐标或半径值中使用的小数位数。shift指定了用于存储坐标和半径值的数据类型中小数部分的位数。在OpenCV中,一般使用整数表示像素坐标,而shift允许使用小数来表示更精细的坐标或半径值。shift的作用是对坐标值和半径值进行缩放。在内部实现中,这些值可能以固定点数的形式存储,其中整数部分表示像素坐标,小数部分表示子像素精度。通过调整shift的值,可以控制小数部分的位数,从而影响坐标或半径值的精度。- 默认值是
None,表示使用默认的位移。
缩放公式可以表示为:
Scaled Value = Original Value 2 shift \text{Scaled Value} = \frac{\text{Original Value}}{2^{\text{shift}}} Scaled Value=2shiftOriginal Value
这个公式表示通过将原始值除以 2 shift 2^{\text{shift}} 2shift 来进行缩放。
也可表示为:
Scaled Value = Original Value ≪ shift \text{Scaled Value} = \text{Original Value} \ll \text{shift} Scaled Value=Original Value≪shift
这是因为在二进制表示中,将一个数右移 n n n 位,相当于将它除以 2 n 2^n 2n。因此,shift的值决定了小数点右侧的位数,从而影响了数值的精度。
举例来说,如果 shift 的值为 1,那么坐标或半径的小数点右侧就有一个二进制位,即数值会缩小一倍。如果 shift 的值为 2,数值就会缩小四倍,以此类推。
在绘图函数中,shift通常是作为可选参数提供的,默认值为0,即不进行额外的缩放。如果需要更高的精度,可以将shift设置为一个正整数。这对于一些特定的应用场景,比如需要在子像素级别进行图像处理时,可能是有用的。
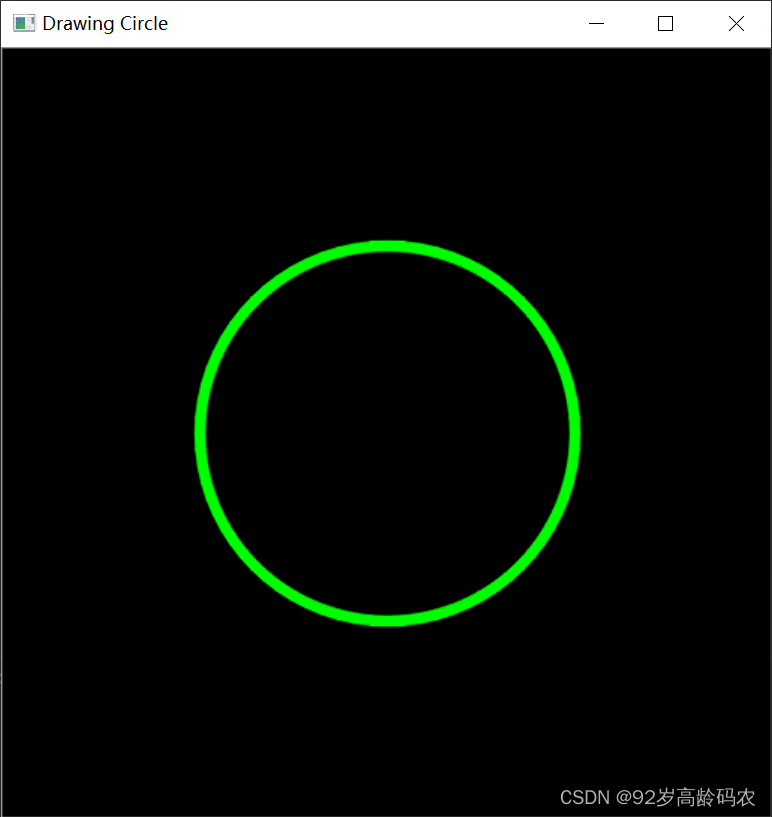
示例:
import cv2
import numpy as np# 创建一个黑色背景的图像
img = np.zeros((512, 512, 3), np.uint8)# 绘制绿色圆环
cv2.circle(img, (1024, 1024), 500, (0, 255, 0), 5 , lineType=cv2.LINE_AA, shift=2)# 显示图像
cv2.imshow('Drawing Circle', img)
cv2.waitKey(0)
cv2.destroyAllWindows()
8. 手工绘制OpenCV的logo
import cv2
import numpy as np# 定义等边三角形的边长和高度
side_length = 130
height = int(np.sqrt(3) / 2 * side_length)# 计算三角形的顶点坐标
triangle_points = np.array([[256, 140 - height // 2],       # 上顶点[256 - side_length // 2, 140 + height // 2],  # 左下顶点[256 + side_length // 2, 140 + height // 2]   # 右下顶点
], np.int32)img = np.full((360, 512, 3), 255, dtype="uint8")
# 红色部分
img = cv2.ellipse(img,tuple(triangle_points[0]), (60, 60), 120, 0, 300, (0, 0, 255), -1, lineType=cv2.LINE_AA)
img = cv2.circle(img, tuple(triangle_points[0]), 25, (255, 255, 255), -1, lineType=cv2.LINE_AA)
# 绿色部分
img = cv2.ellipse(img, tuple(triangle_points[1]), (60, 60), 0, 0, 300, (0, 255, 0), -1, lineType=cv2.LINE_AA)
img = cv2.circle(img, tuple(triangle_points[1]), 25, (255, 255, 255), -1, lineType=cv2.LINE_AA)
# 蓝色部分
img = cv2.ellipse(img, tuple(triangle_points[2]), (60, 60), 300, 0, 300, (255, 0, 0), -1, lineType=cv2.LINE_AA)
img = cv2.circle(img, tuple(triangle_points[2]), 25, (255, 255, 255), -1, lineType=cv2.LINE_AA)
# 文字部分
font = cv2.FONT_HERSHEY_DUPLEX
img = cv2.putText(img, "OpenCV", (105, 330), font, 2.5, (0, 0, 0), 4, cv2.LINE_AA)cv2.imshow("OpenCV Logo", img)
cv2.waitKey(0)
cv2.destroyAllWindows()
解释一下每一部分的代码:
- 定义等边三角形的边长和高度:
side_length = 130height = int(np.sqrt(3) / 2 * side_length)
这里定义了一个等边三角形的边长(side_length),然后通过三角形的性质计算出对应的高度。
- 计算三角形的顶点坐标:
triangle_points = np.array([[256, 140 - height // 2], # 上顶点[256 - side_length // 2, 140 + height // 2], # 左下顶点[256 + side_length // 2, 140 + height // 2] # 右下顶点], np.int32)
这里使用NumPy创建了一个包含等边三角形的三个顶点坐标的数组。
- 创建图像:
img = np.full((360, 512, 3), 255, dtype="uint8")
使用np.full创建一个白色背景的图像,大小为360x512。
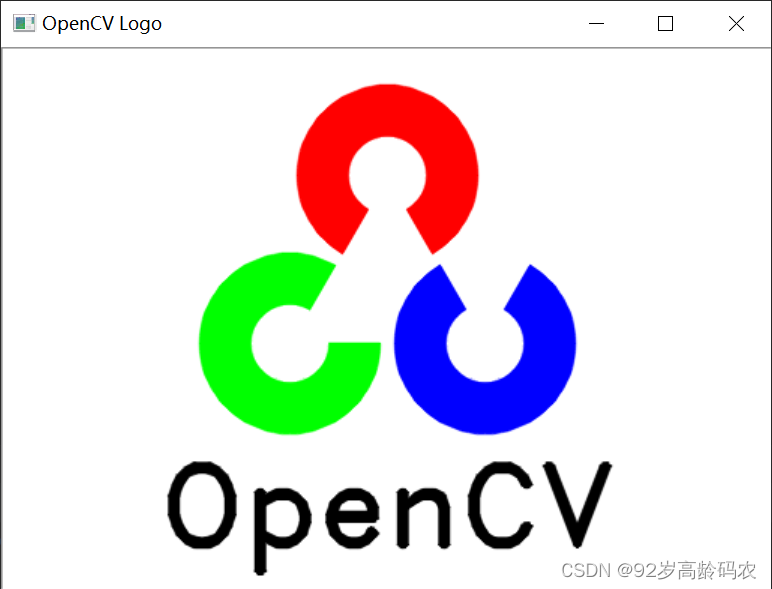
- 绘制红、绿、蓝色部分:
img = cv2.ellipse(img, tuple(triangle_points[0]), (60, 60), 120, 0, 300, (0, 0, 255), -1, lineType=cv2.LINE_AA)img = cv2.circle(img, tuple(triangle_points[0]), 25, (255, 255, 255), -1, lineType=cv2.LINE_AA)
通过cv2.ellipse和cv2.circle分别绘制了三个等边三角形的红、绿、蓝色部分。这里使用了椭圆和圆的绘制,通过不同的角度和颜色来创建彩色图案。
- 绘制文字部分:
font = cv2.FONT_HERSHEY_DUPLEXimg = cv2.putText(img, "OpenCV", (105, 330), font, 2.5, (0, 0, 0), 4, cv2.LINE_AA)
使用cv2.putText在图像上绘制了"OpenCV"文字,指定了字体、大小、颜色等参数。
- 显示图像:
cv2.imshow("OpenCV Logo", img)cv2.waitKey(0)cv2.destroyAllWindows()
最后通过cv2.imshow展示了生成的OpenCV标志图像。
二、图像金字塔
图像金字塔是一种多尺度表示,通过在不同分辨率下创建图像的副本,从而实现对图像进行缩放、特征提取和图像融合等应用。在OpenCV中,主要有两种类型的图像金字塔:高斯金字塔和拉普拉斯金字塔。
1. 高斯金字塔
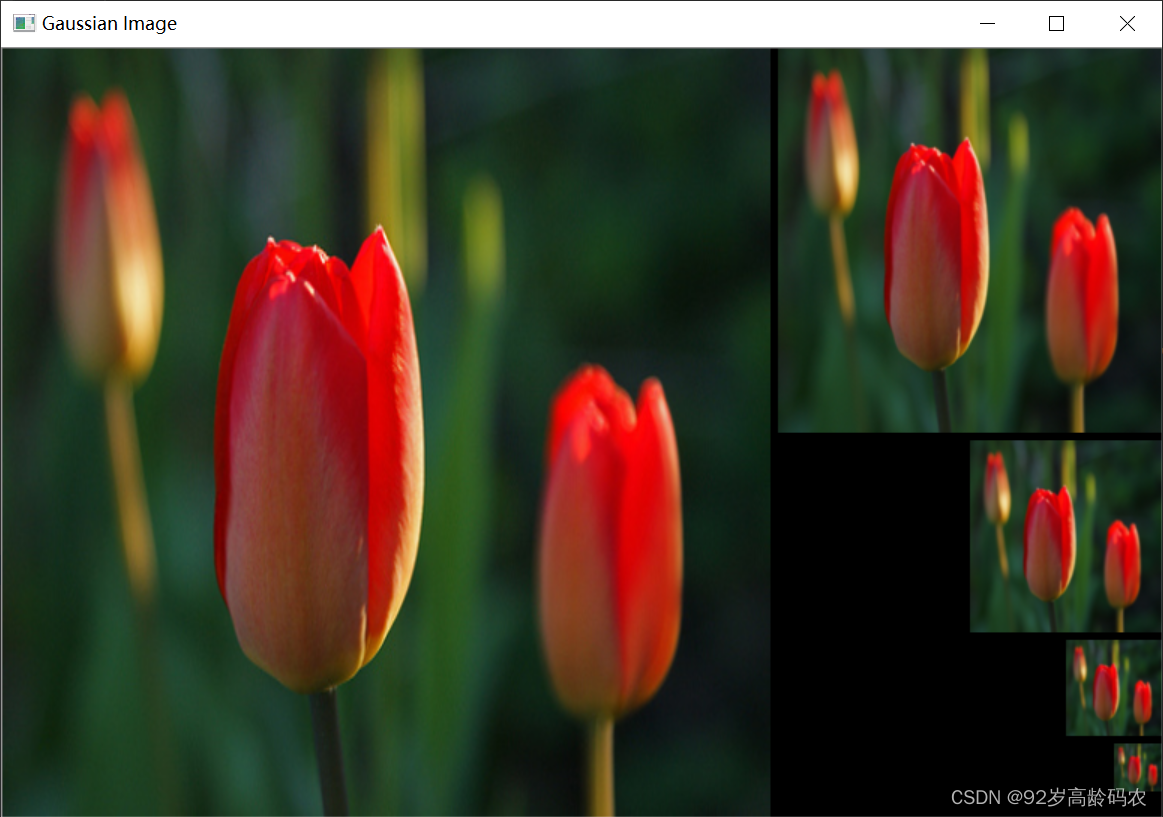
图像金字塔的构建主要利用了高斯模糊和图像缩放的原理。具体而言,高斯金字塔是通过不断进行高斯模糊和缩放操作而生成的。
import cv2
import numpy as np# 读取图像
img = cv2.imread('tulips.jpg')
img = cv2.resize(img, (512, 512))# 构建高斯金字塔
layer = img.copy()
pyramid = [layer]
for i in range(5):layer = cv2.pyrDown(layer)pyramid.append(layer)# 合并图像
margin = 5
combined_image = np.zeros((512, 512 + 256 + margin, 3), dtype=np.uint8)# 单独处理第一张图像
combined_image[:512, :512, :] = pyramid[0]# 定义初始位置
x_pos = 512 + margin
y_pos = 0# 使用循环处理剩余的图像
for i in range(1, 5):# 将金字塔图像放置在合并后的图像上combined_image[y_pos:y_pos + pyramid[i].shape[0], x_pos:x_pos + pyramid[i].shape[1], :] = pyramid[i]# 更新下一张图像的位置x_pos += pyramid[i].shape[1] // 2y_pos += pyramid[i].shape[0] + margin# 显示合并后的图像
cv2.imshow('Gaussian Image', combined_image)
cv2.waitKey(0)
cv2.destroyAllWindows()
在上面的例子中,我们首先读取一张图像,然后通过cv2.pyrDown()函数不断对图像进行降采样,即图像缩小一半,从而构建了一个包含5层的高斯金字塔。cv2.imshow()用于显示金字塔的每一层。
2. 拉普拉斯金字塔
拉普拉斯金字塔是由高斯金字塔生成的,可以用于重建原始图像。具体而言,拉普拉斯金字塔是通过在每一层高斯金字塔上进行图像减法操作而得到的。
import cv2# 读取图像
import numpy as npimg = cv2.imread('tulips.jpg')
img = cv2.resize(img, (512, 512))
# 构建高斯金字塔
layer = img.copy()
gaussian_pyramid = [layer]
for i in range(6):layer = cv2.pyrDown(layer)gaussian_pyramid.append(layer)# 构建拉普拉斯金字塔
laplacian_pyramid = []
for i in range(5, 0, -1):gaussian_expanded = cv2.pyrUp(gaussian_pyramid[i])laplacian = cv2.subtract(gaussian_pyramid[i - 1], gaussian_expanded)laplacian_pyramid.append(laplacian)# 合并图像
margin = 5
combined_image = np.zeros((512, 512 + 256 + margin, 3), dtype=np.uint8) + 255# 单独处理第一张图像
combined_image[:512, :512, :] = laplacian_pyramid[4]# 定义初始位置
x_pos = 512 + margin
y_pos = 0# 使用循环处理剩余的图像
for k in range(4):i = 3 - k# 将金字塔图像放置在合并后的图像上combined_image[y_pos:y_pos + laplacian_pyramid[i].shape[0], x_pos:x_pos + laplacian_pyramid[i].shape[1], :] = laplacian_pyramid[i]# 更新下一张图像的位置x_pos += laplacian_pyramid[i].shape[1] // 2y_pos += laplacian_pyramid[i].shape[0] + margin# 显示合并后的图像
cv2.imshow('Laplacian Image', combined_image)
cv2.waitKey(0)
cv2.destroyAllWindows()
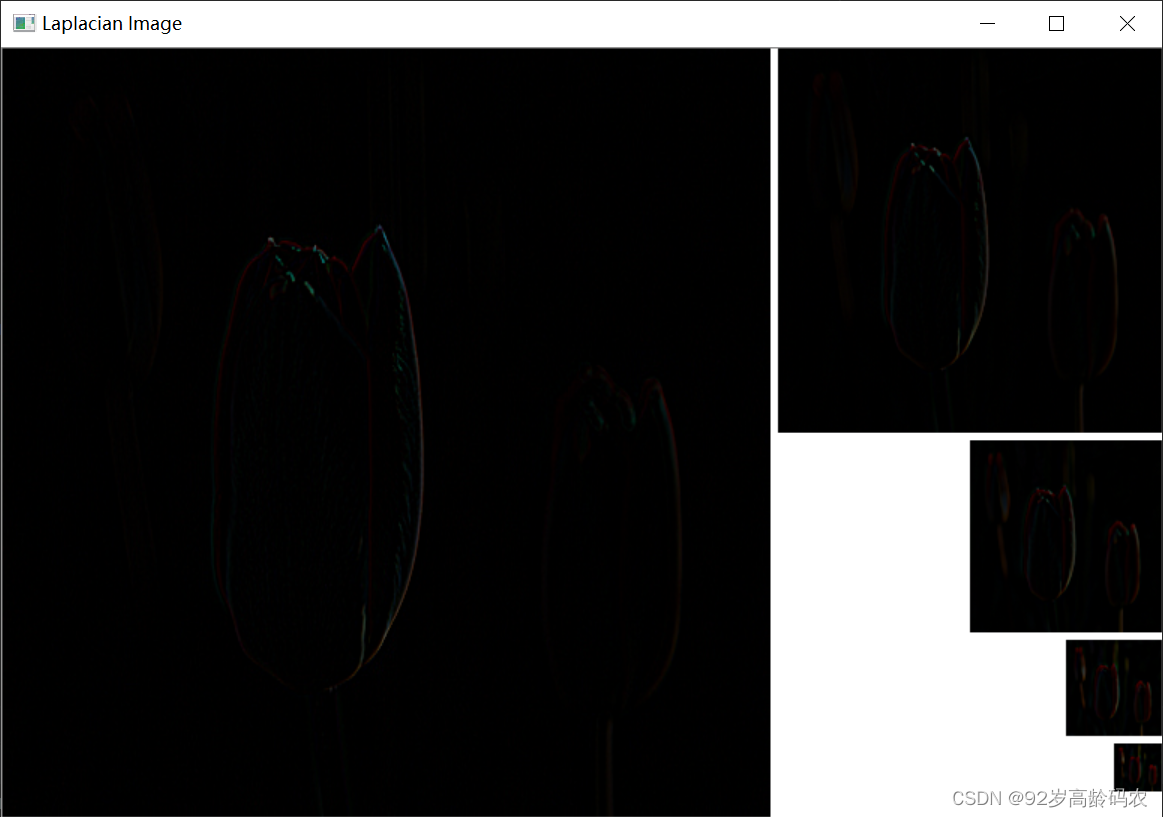
在上面的例子中,我们首先构建了一个高斯金字塔(gaussian_pyramid),然后利用高斯金字塔的图像进行拉普拉斯金字塔的构建。通过cv2.pyrUp()函数对高斯金字塔上层进行上采样,然后与下一层进行图像减法操作,从而得到拉普拉斯金字塔。cv2.subtract()用于执行减法操作,cv2.imshow()用于显示拉普拉斯金字塔的每一层。
图像金字塔的应用包括图像融合、图像金字塔匹配、图像金字塔法线估计等,通过多尺度表示,可以更灵活地处理不同分辨率下的图像信息。
三、感兴趣区域(ROI)
感兴趣区域是图像中一个特定区域的子集,可以通过OpenCV的数组切片来实现。
数组切片方式
以下是一个简单的例子,演示如何选择并处理图像中的感兴趣区域:
import cv2
import numpy as np# 读取图像
img = cv2.imread('tulips.jpg')# 定义感兴趣区域的坐标
x, y, w, h = 100, 75, 200, 210# 选择感兴趣区域
roi = img[y:y+h, x:x+w]# 在感兴趣区域上绘制矩形
cv2.rectangle(img, (x, y), (x+w, y+h), (0, 255, 0), 2)# 拼接原图和感兴趣区域
result = np.hstack((img, np.zeros((img.shape[0], w, 3), dtype=np.uint8)))
result[:h, img.shape[1]:, :] = roi# 显示原图和感兴趣区域
cv2.imshow('ROI Image', result)
cv2.waitKey(0)
cv2.destroyAllWindows()
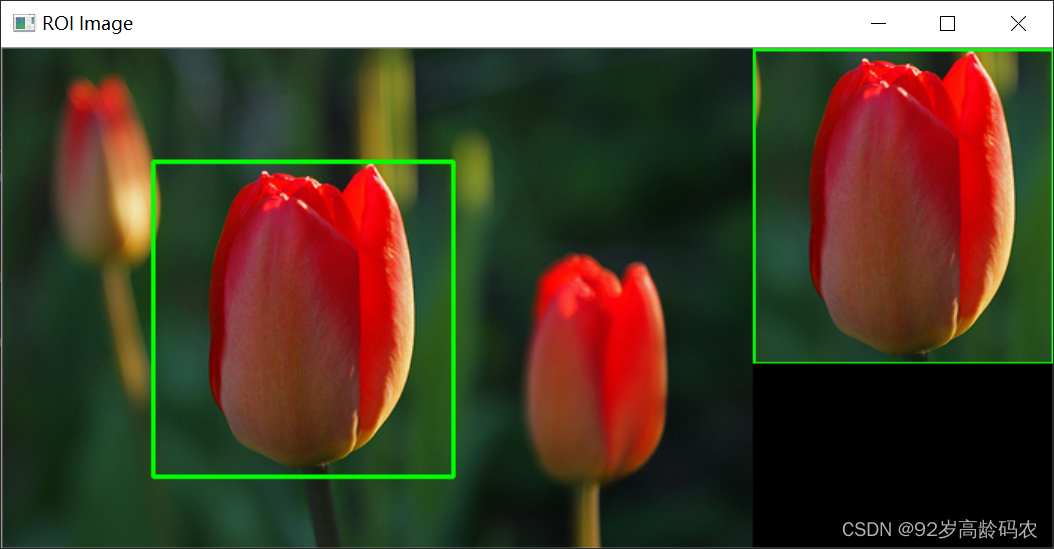
在这个例子中,我们首先读取一张图像,然后定义了感兴趣区域的坐标。通过数组切片,我们选择了这个感兴趣区域,并在原图上绘制了一个绿色矩形。
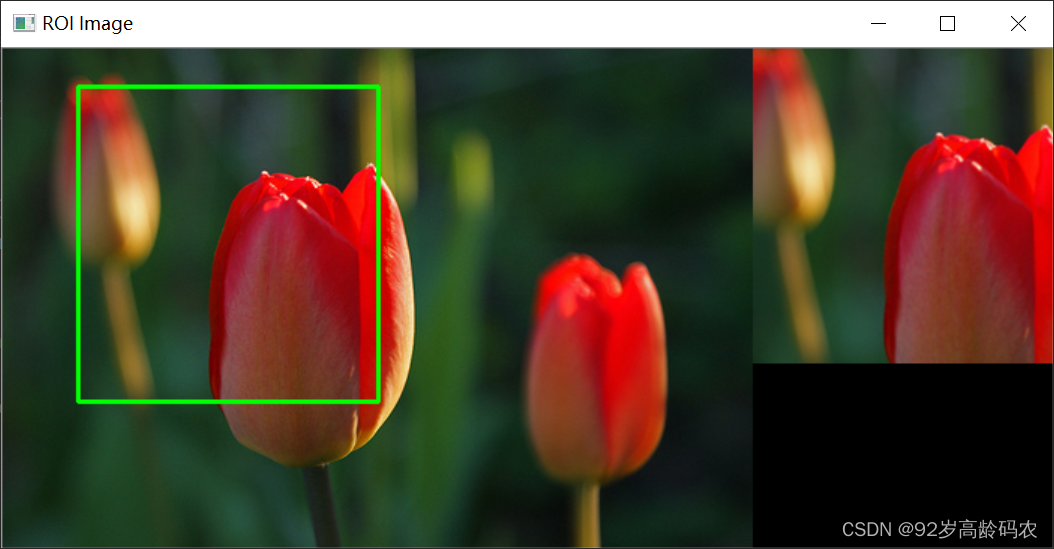
OpenCV截取方式
除此之外,还可以使用cv2.getRectSubPix来截取图像的一部分。
import cv2
import numpy as np# 读取图像
img = cv2.imread('tulips.jpg')# 定义感兴趣区域的中心坐标和大小
center = (150, 130)
size = (200, 210)# 使用cv2.getRectSubPix截取感兴趣区域
roi = cv2.getRectSubPix(img, size, center)# 在感兴趣区域上绘制矩形
cv2.rectangle(img, (int(center[0] - size[0]/2), int(center[1] - size[1]/2)),(int(center[0] + size[0]/2), int(center[1] + size[1]/2)), (0, 255, 0), 2)# 拼接原图和感兴趣区域
result = np.hstack((img, np.zeros((img.shape[0], size[0], 3), dtype=np.uint8)))
result[:size[1], img.shape[1]:, :] = roi# 显示原图和感兴趣区域
cv2.imshow('ROI Image', result)
cv2.waitKey(0)
cv2.destroyAllWindows()
总结
本文介绍了OpenCV的基础功能,包括绘制图形、构建图像金字塔以及处理感兴趣区域(ROI)。
首先,我们学习了如何绘制直线、圆、矩形、椭圆、多边形和文字,并深入了解了可选参数的使用。
随后,我们探讨了图像金字塔的概念,介绍了高斯金字塔和拉普拉斯金字塔的构建方法。
最后,我们讨论了处理感兴趣区域的两种方式:使用数组切片和OpenCV提供的截取函数。